When you click on links to various merchants on this site and make a purchase, this can result in this site earning a commission. Affiliate programs and affiliations include, but are not limited to, the eBay Partner Network.
A little more work on the front. I had to swap the SS SLP strut tower brace as it didn�t fit with the Torqhead coil system. Both headers are in thanks to the plug. I�ve been waiting on a hub spacer from Torqhead to install the damper and hub, which I hope will be here today.
For the oil level, I think i need to remove the connector and connect the two wires together; sound right?
or just use one of those "add a wire" splice tap on the 2 wires going into your connector. You can use a test jump wire in each hole of the connector to confirm jumping the 2 wires keeps the circuit closed
I made a bit more progress yesterday, but the transmission beat me. I got it within about half and inch of being seated, but couldn’t get it the rest of the way. The clutch alignment tool splipped easily in and out, between attempts. I am going to try supporting the engine from the front today to see if my issue was the engine moving while trying adjust the angle of the transmission.
I'll grab more pictures today, but ARP 12 point bolts made getting the bell housing on so much easier. It is still a little tight on the top/side/left bolt, but the smaller bolt head give a significant improvement in space.
Last edited by DrewHMS97SS; Mar 22, 2020 at 09:30 AM.
Reason: more info
Drew, most of us who have manual trans have had this happen even using the alignment tool. Using a floor jack under motor to mirror the engine angle to trans jack helps. The "gap" distance between BH & trans needs to be uniform all around. And yeah the "wiggle, cuss, push" the trans sometimes gets it in.
I find I have to loosen the PP bolts and align again but instead of just letting the disc & PP "hang" on the alignment tool I push it in straight and hold it while with the other hand tighten a few PP bolts just enough the hold the disc where it is. I then run my fingers all around the disc/PP edge to confirm they are == and not one being slightly over/under the other in any spot. The edges should be uniform all the way around. Then proceed to tighten PP bolts to spec. I find just tightening the PP bolts with the disc & PP hanging on the alignment tool allows enough drop to not get it dead nuts centered which it needs to be. The input shaft is just catching the edge of the pilot now so don't use tranny bolts to draw the trans in as you will FU the pilot bearing
For the oil level, I think i need to remove the connector and connect the two wires together; sound right?
Correct. Confirmed in factory service manual, page 8A-81-1 - switch is "normally closed, open with low oil". I would push a jumper wire into the pins in the connector, tape it securely, and nylon tie the wire up and away for the headers.
What do you think about putting some sort of insulation between the headers and the "wing" on the oil pan? Close proximity could cause oil heat up.
Thanks Fred. Thats not a bad idea with the oil pan. I have some heat tape from DEI, but I�m not sure it would stick. Maybe my excess from the starter wrap with a stainless zip tie? Let me think about it.
The transmission went in with slightly less fight today. I used a different alignment tool and reset the pressure plate. I am embarrassed to say that once I had the transmission all bolted up, and I was starting to route wires, I found my Racetronix hot wire pinched between the bell housing and block. I was able to cut the wire and loosen the bell hosusing just enough to pull the wire out without having to drop the transmission again. A there was plenty of length, but what an idiot.
I was also able to get the old exhaust out the back and install the BMR panhard relocation kit to make room for the new dual 3� exhaust.
If any of the local (Las Vegas) guys want a true dual exhaust, Ill throw in the whole system from the headers back with the purchase of the headers ($125). 2.5� dual with cut outs, fits over the axel and has Magna flow bullet mufflers.
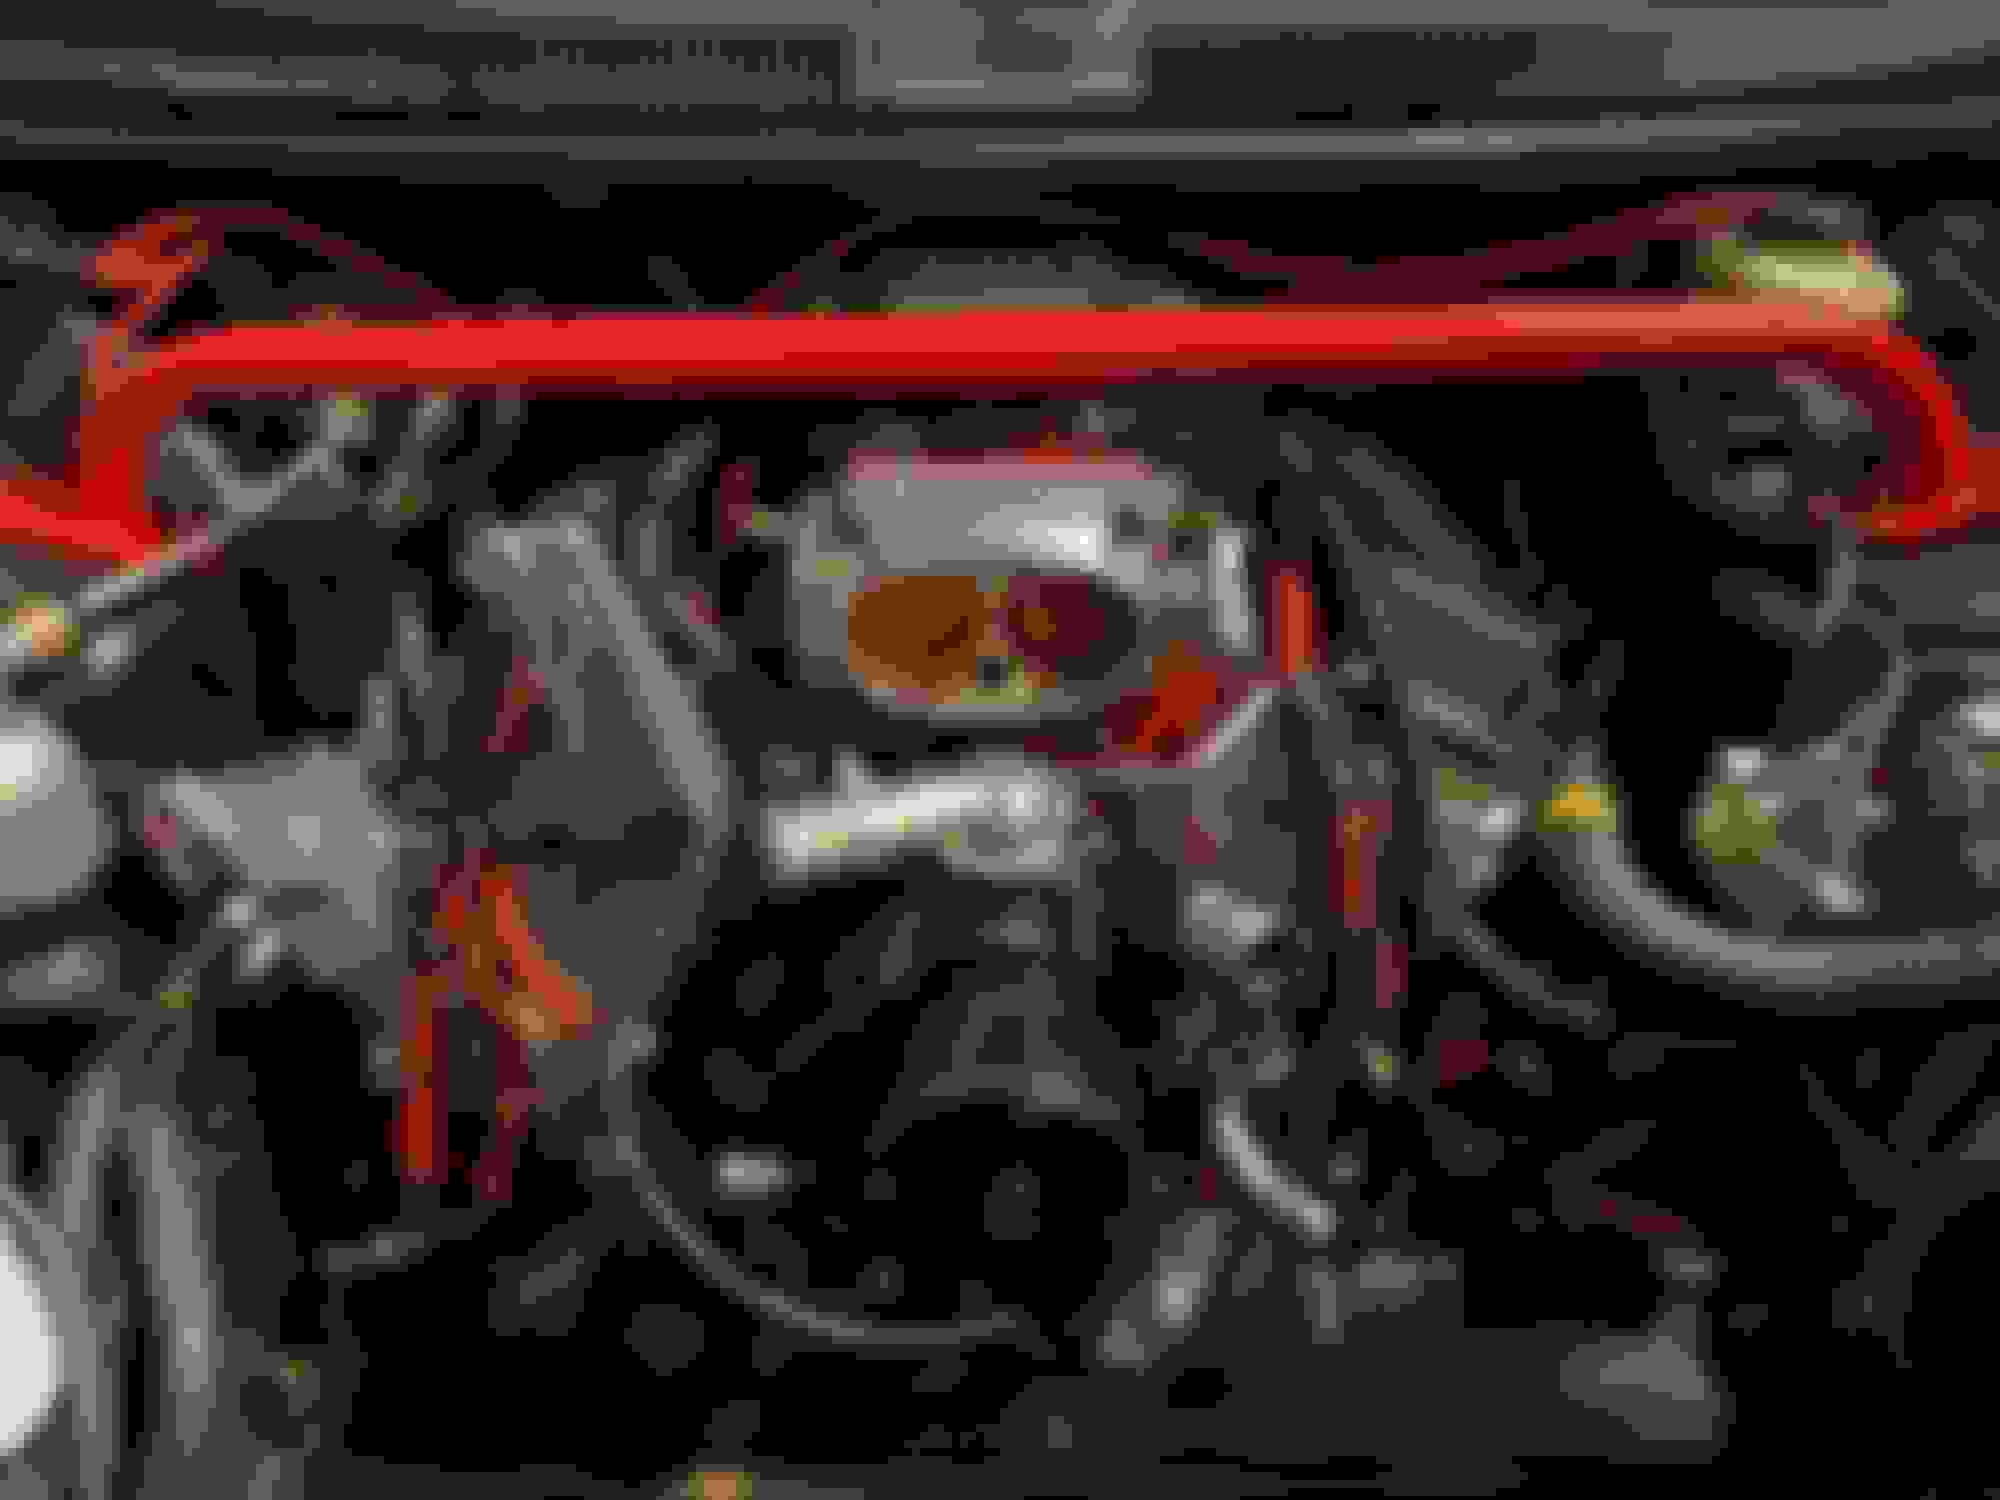
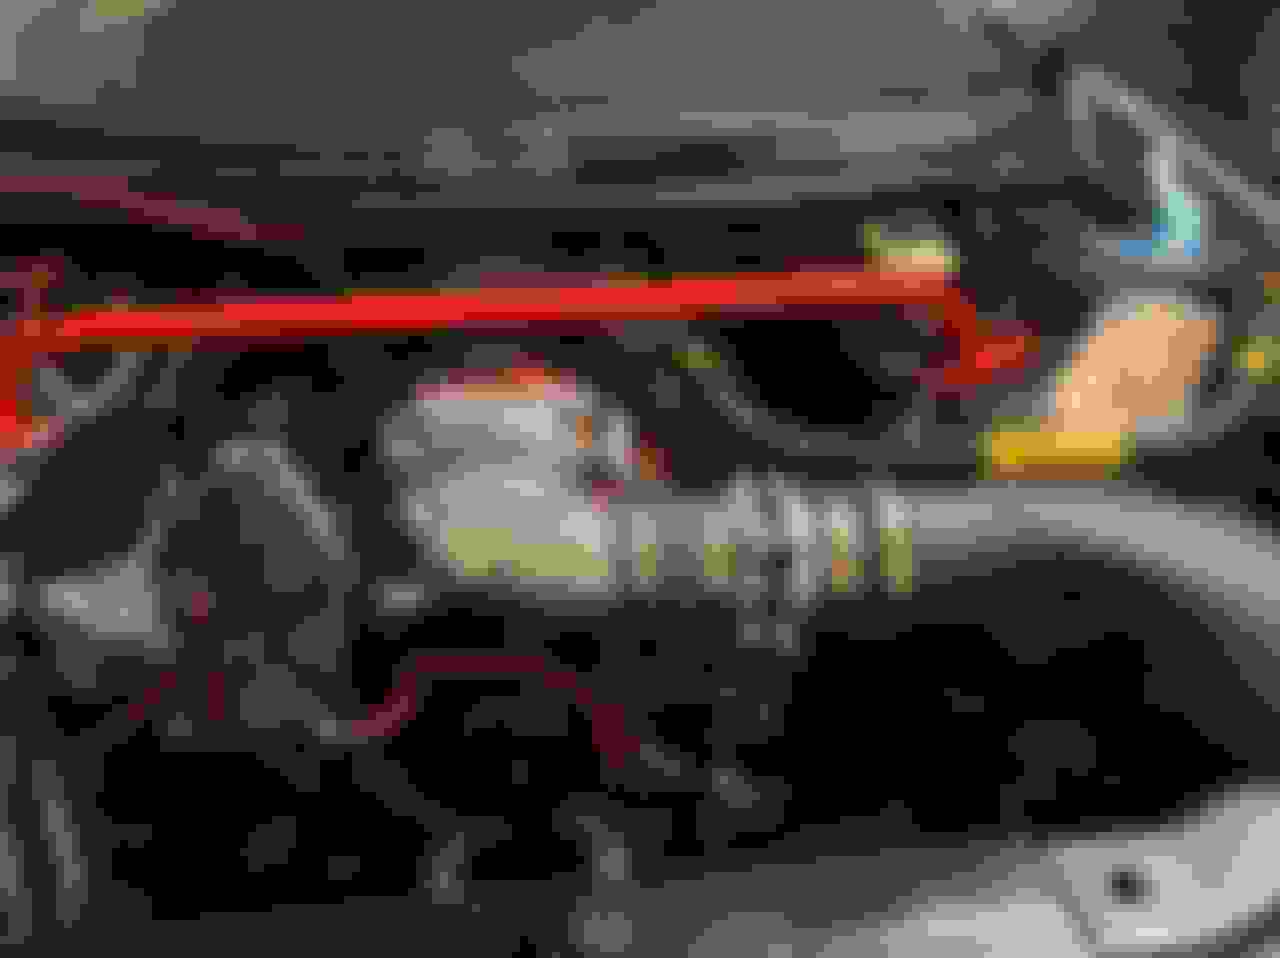
I really like the look of the Torqhead setup, but it makes everything super tight.
the LS1 Speed Engineering dual fits pretty well in the back, but needs some work towards the headers. I took about an inch from either side to correct the angles work, now need about 3� in length on the drivers side.
Thanks! I�ve always like watching other peoples stuff come together, so I figured I would share back!
Just a small update today. With the electric water pump, my old intake elbow didn�t fit. I had the resonance tube delete plug, but it still hung down to far. So....
I had never swapped because of heat soak, but this is ceramic coated, so hopefully not so bad. Also ditched the Granitelli MAF.
Does anyone know what kind of pins to use in the under hood fuse box? I am planning to reuse the air pump relay for the pump, and would like to add the fuse for the pump to the box. To keep everything tidy.