BBC/T56 Setup with pics


Thread Starter
Registered User
Joined: Sep 2004
Posts: 1,872
From: Lantana, TX
BBC/T56 Setup with pics
The reason for this thread is two fold, I just got a new camera so I'm taking pictures of everything and I also figured you guys might enjoy seeing my project. Nothing new here, I've been working on this for a while trying to figure out the best way to set up everything so it looks as clean as possible and I think I have almost everything figured out. After I finish mock up, I'll take out the spare motor I have in there and put in the real thing. Of course in the process of doing that I will take pictures before I paint the engine bay and as I go through the install. Hopefully it will be really cool. Anyway on to the pics.

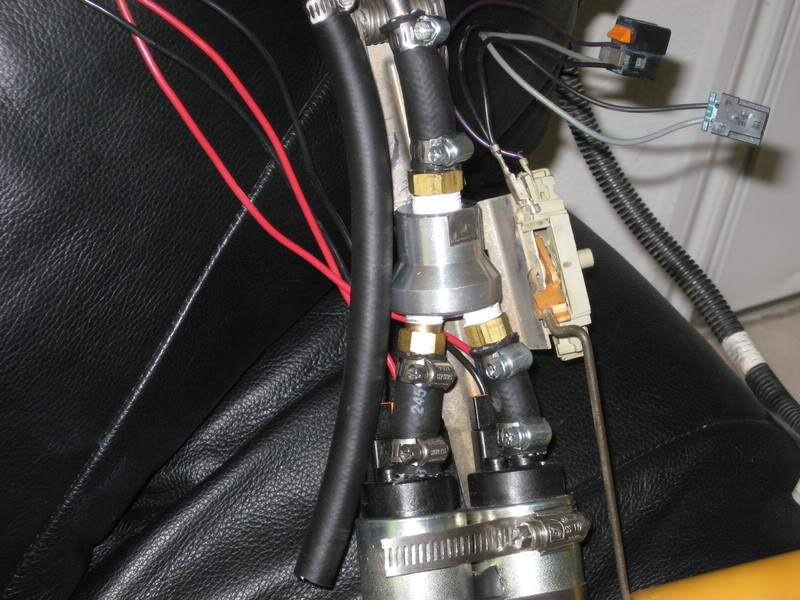
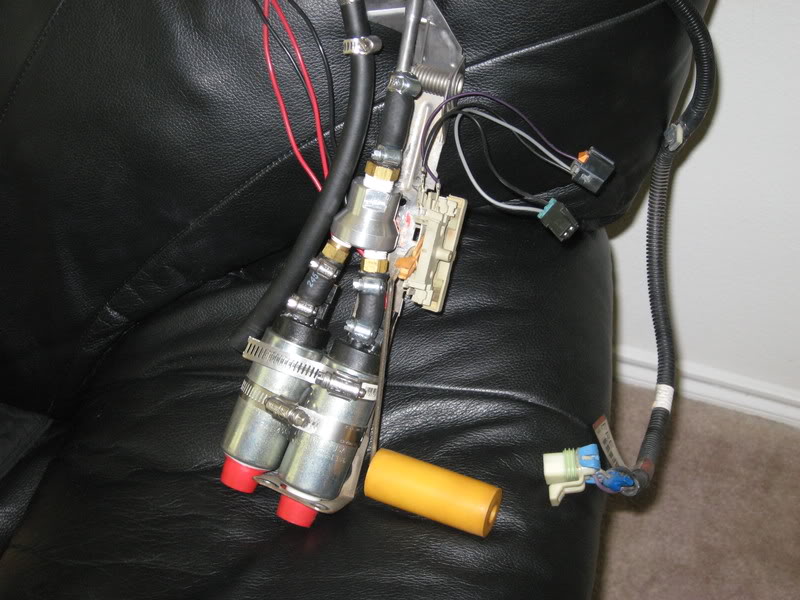
Yes, I know the heater hose looks ghetto and it will be replaced with piping or PVC and silicone couplers......maybe just a rubber fitting if I'm lucky enough.

As you can see my obvious problem is the thermostat clearance. I'm either going to test out a Holley remote mount that they use on 6-71 blowers or I'm just going to use the two 3/4 inch fittings on the front of the manifold and y it into an inline thermostat.

Major problem when running 2455 headers is the passenger side by the heater box as you can see above you will have to beat the crap out of the bottom of the firewall, but I'm probably just going to make a set of headers.


The driver side looks good, the only problem is underneath the car, the collector ends right at the crossmember so I might have to cut part of the collector off and then flatten out the pipe like pacesetter does with there y-pipe.

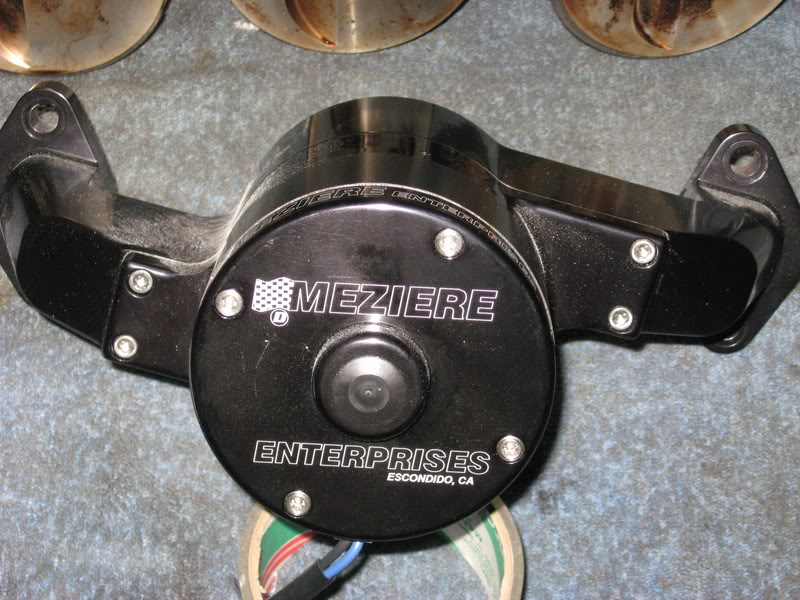
The water pump isn't bad...I got tired of taking measurements so I just bought a cheap stock setup and threw it in there. Cutting was minimal, probably the same that you would have to do for the Meziere HD LT1 pump. I can use a Griffin 2x1.25 radiator with the stock fans if I can hotwire them or maybe I can find some fans to replace the stock ones if they can't be rigged up to work.

Yes, I know the heater hose looks ghetto and it will be replaced with piping or PVC and silicone couplers......maybe just a rubber fitting if I'm lucky enough.
As you can see my obvious problem is the thermostat clearance. I'm either going to test out a Holley remote mount that they use on 6-71 blowers or I'm just going to use the two 3/4 inch fittings on the front of the manifold and y it into an inline thermostat.
Major problem when running 2455 headers is the passenger side by the heater box as you can see above you will have to beat the crap out of the bottom of the firewall, but I'm probably just going to make a set of headers.
The driver side looks good, the only problem is underneath the car, the collector ends right at the crossmember so I might have to cut part of the collector off and then flatten out the pipe like pacesetter does with there y-pipe.
The water pump isn't bad...I got tired of taking measurements so I just bought a cheap stock setup and threw it in there. Cutting was minimal, probably the same that you would have to do for the Meziere HD LT1 pump. I can use a Griffin 2x1.25 radiator with the stock fans if I can hotwire them or maybe I can find some fans to replace the stock ones if they can't be rigged up to work.
Last edited by ulakovic22; Jul 27, 2007 at 08:40 AM.


Thread Starter
Registered User
Joined: Sep 2004
Posts: 1,872
From: Lantana, TX
Ok guys, I finally got the heads in that are going on this beast. There are a lot of pics so I figured I would just post a link to my album.
http://s34.photobucket.com/albums/d1...2/RHS%20Heads/
http://s34.photobucket.com/albums/d1...2/RHS%20Heads/
Thread Starter
Registered User
Joined: Sep 2004
Posts: 1,872
From: Lantana, TX
Finally was able to drop the intake and heads off at Lloyds place yesterday and he was nice enough to take a break and flow the heads right there in front of me. It was really cool seeing how it all worked. Here are the "before" numbers and I'll update with the "after" numbers once I get them back in a couple of weeks.
Flowed @ 28" on a 4.310 bore fixture with 2.25/1.88 Manley Severe Duty Valves
.100 80/ ?
.200 142/106
.300 203/145
.400 259/184
.500 310/218
.600 353/241
.700 380/259
.800 388/269
For comparisons sake here are the advertised numbers from the RHS website.
.100 75/62
.200 166/110
.300 246/160
.400 309/195
.500 340/229
.600 360/248
.700 375/265
The peak numbers are pretty close, but you can see the low lift numbers are a little off. RHS supplied no information on how the test was performed other than @ 28", so I don't know how much of an apples to apples comparison it is in regards to bore fixture size, radius inlet, exhaust pipe, etc.
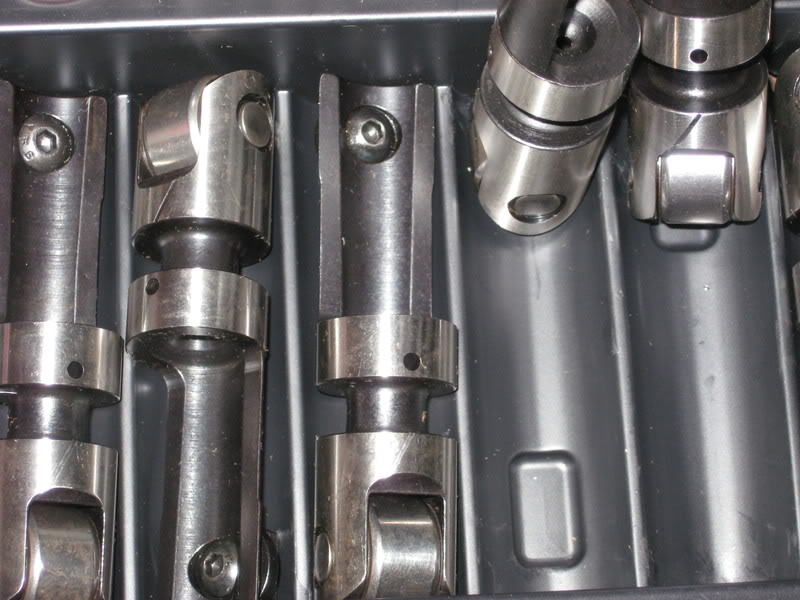
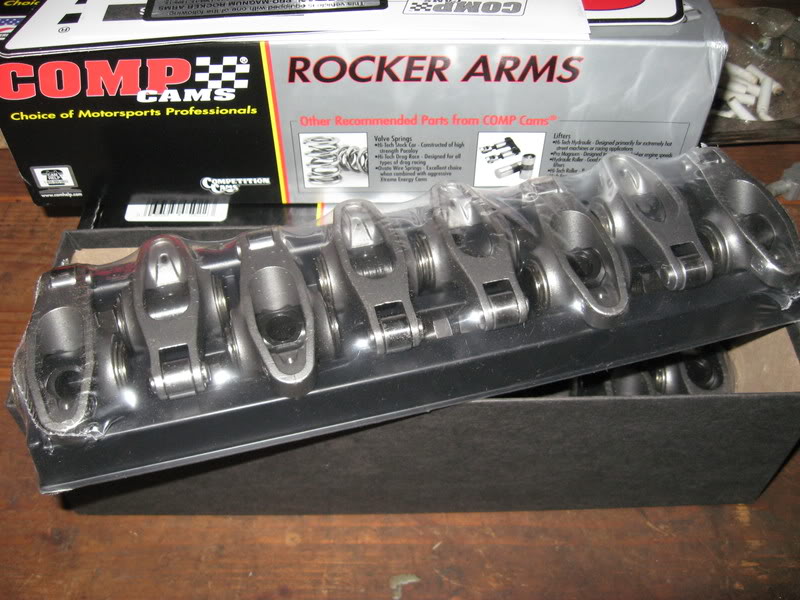
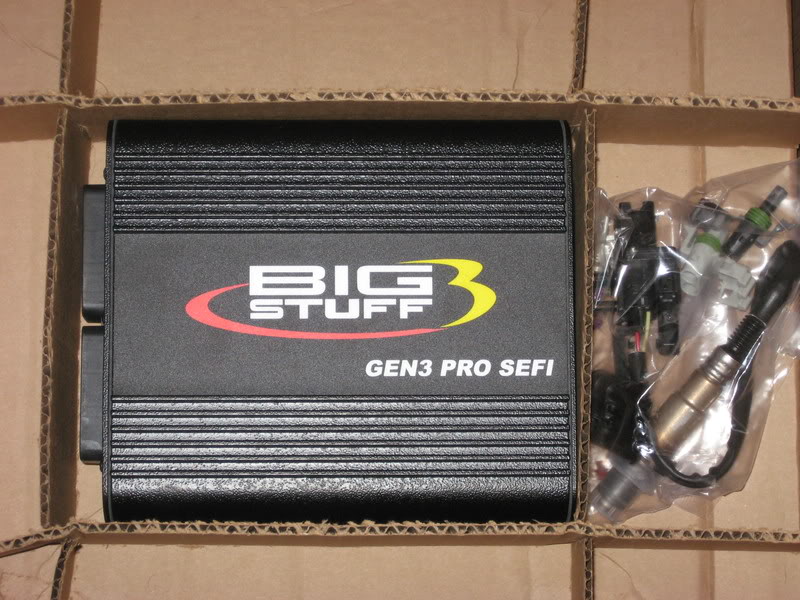
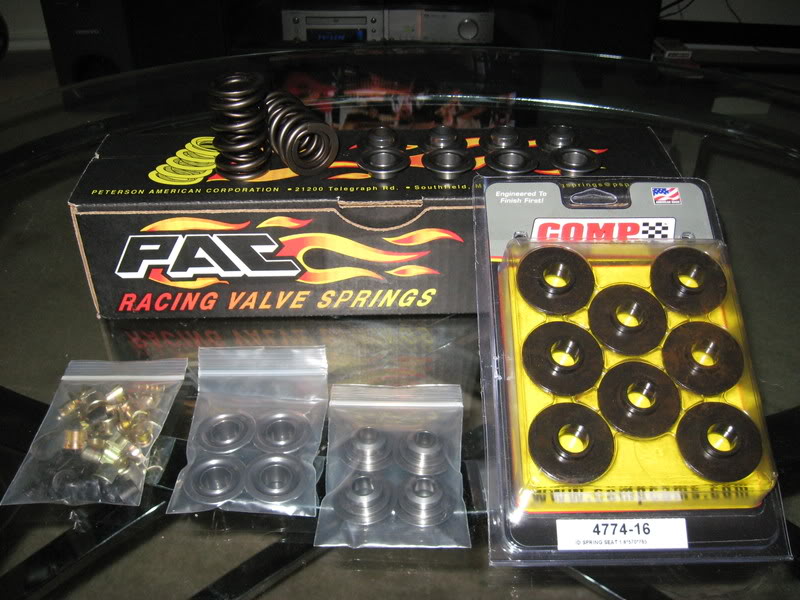
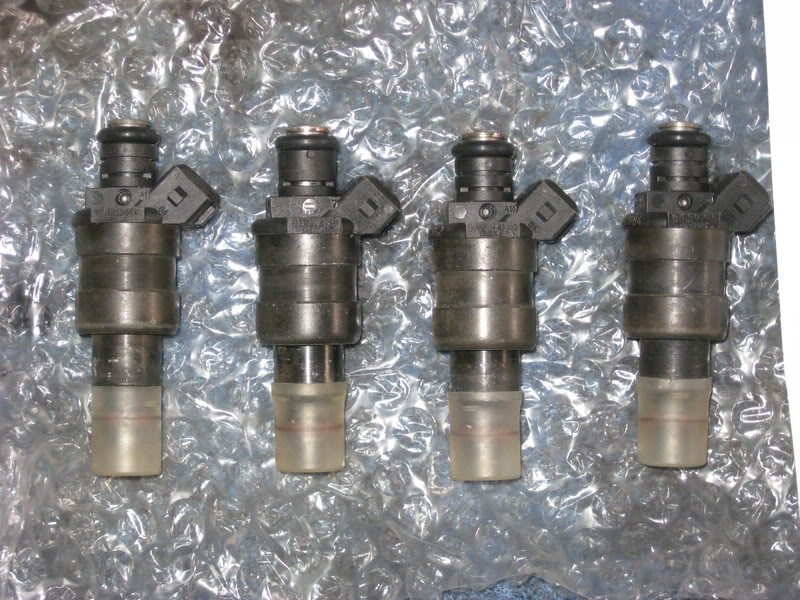
Anyway, I'll post up more information and pictures as I go along, but right now the valvetrain is the next step and then after that is the fuel system.
Flowed @ 28" on a 4.310 bore fixture with 2.25/1.88 Manley Severe Duty Valves
.100 80/ ?
.200 142/106
.300 203/145
.400 259/184
.500 310/218
.600 353/241
.700 380/259
.800 388/269
For comparisons sake here are the advertised numbers from the RHS website.
.100 75/62
.200 166/110
.300 246/160
.400 309/195
.500 340/229
.600 360/248
.700 375/265
The peak numbers are pretty close, but you can see the low lift numbers are a little off. RHS supplied no information on how the test was performed other than @ 28", so I don't know how much of an apples to apples comparison it is in regards to bore fixture size, radius inlet, exhaust pipe, etc.
Anyway, I'll post up more information and pictures as I go along, but right now the valvetrain is the next step and then after that is the fuel system.

Registered User
Joined: Aug 2006
Posts: 3,705
From: Kansas
what crossmember is that?
ive thought of doing this swap. Any idea you can tell me how much this has cost so far? I have a buddy w/ a big block layin around hes tryin to get rid of and ive really toyed with the idea
ive thought of doing this swap. Any idea you can tell me how much this has cost so far? I have a buddy w/ a big block layin around hes tryin to get rid of and ive really toyed with the idea
Thread Starter
Registered User
Joined: Sep 2004
Posts: 1,872
From: Lantana, TX
The k-member is the BMR sbc/bbc unit for use with a pinto manual rack. If you have a running car then the only cost is to switch to the BMR k-member, engine cost, and then the wiring you would have to do to get it to work depending on if you go EFI or carb. For me it's pretty high because I started from scratch and I'm building it to be pretty stout, much like a GM 572 with a little more aggressive SR instead of a HR to get me closer to that all elusive 1000 fwhp 
Registered User
Joined: Aug 2006
Posts: 3,705
From: Kansas
The k-member is the BMR sbc/bbc unit for use with a pinto manual rack. If you have a running car then the only cost is to switch to the BMR k-member, engine cost, and then the wiring you would have to do to get it to work depending on if you go EFI or carb. For me it's pretty high because I started from scratch and I'm building it to be pretty stout, much like a GM 572 with a little more aggressive SR instead of a HR to get me closer to that all elusive 1000 fwhp
Thread Starter
Registered User
Joined: Sep 2004
Posts: 1,872
From: Lantana, TX
No they make a k-member to use the factory power rack, but then you would have to find a way to run the pump and mount the resevior. I didn't want to mess with all that so I went manual everything. Headers are the only part I haven't figured out yet, that and a way to run a good exhaust and still have ground clearance.
Thread Starter
Registered User
Joined: Sep 2004
Posts: 1,872
From: Lantana, TX
Haha, I'm sure Kooks would be more than happy to help me out of about $1200 Since I have those 2455 already in there I'm going to buy a kit and try myself since I already have a visual of what needs to be done and how to route them.
Since I have those 2455 already in there I'm going to buy a kit and try myself since I already have a visual of what needs to be done and how to route them.
Registered User
Joined: Aug 2006
Posts: 3,705
From: Kansas
yeah, im not sure how hard it is to make headers, but IMO the ones ive seen custom done are so much nicer for fit.
Thread Starter
Registered User
Joined: Sep 2004
Posts: 1,872
From: Lantana, TX
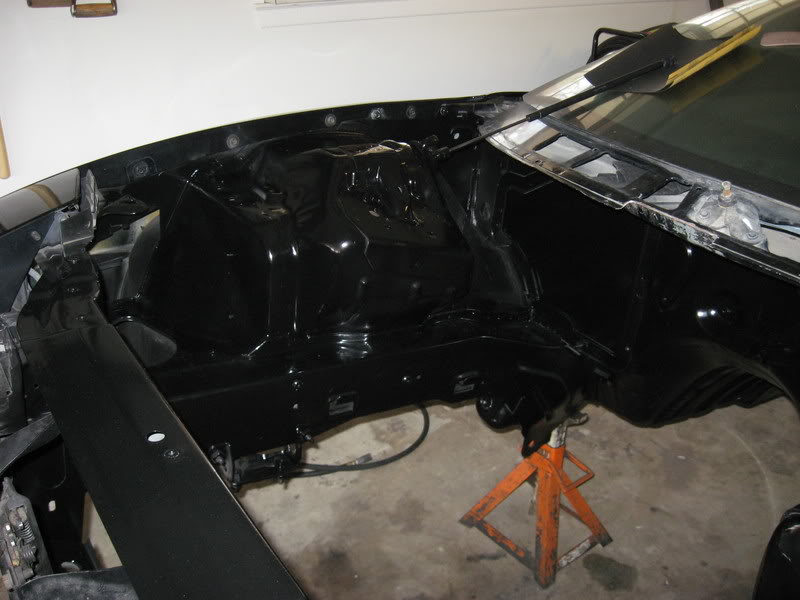
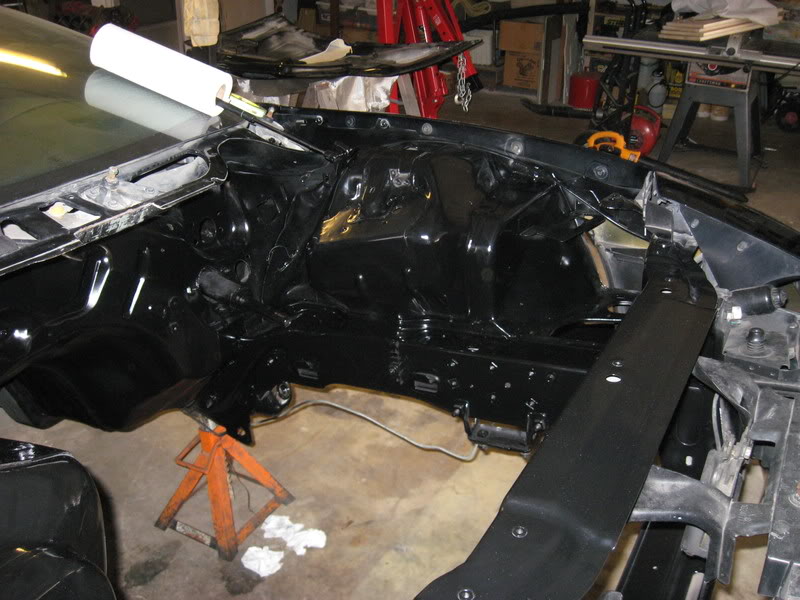
Ok guys, I've never updated this thread so I figured since today is slow at work I would post up my progress over the last year.
Freshly painted engine bay
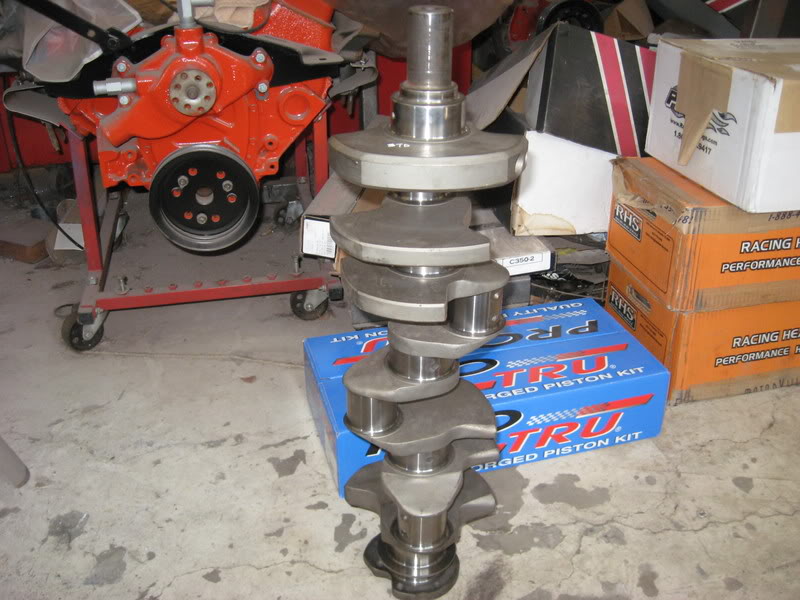
4.250 crank
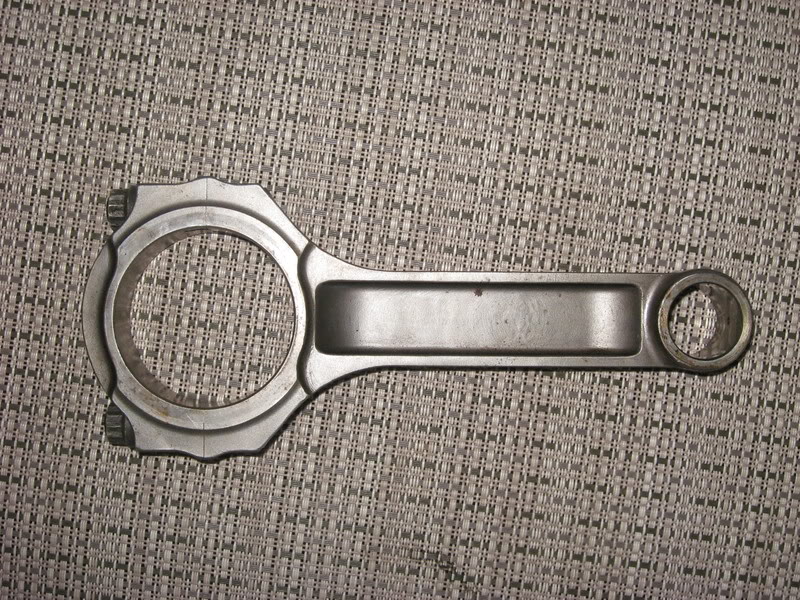
6.385 rods, these were actually not the ones used as we later switched to h-beams
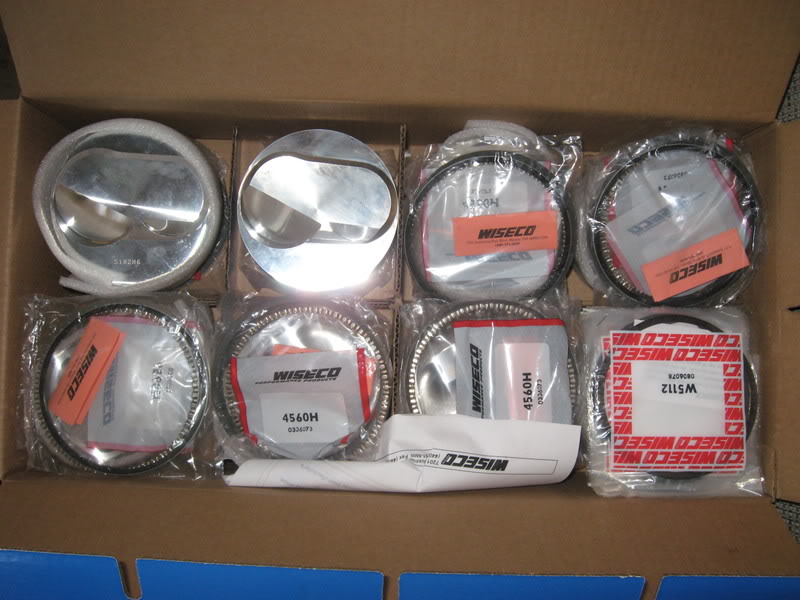
4.56 Pistons
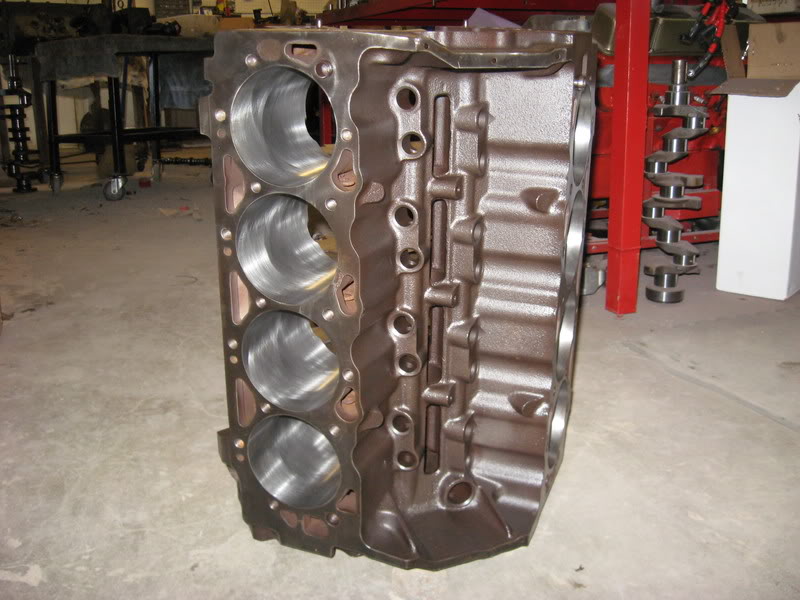
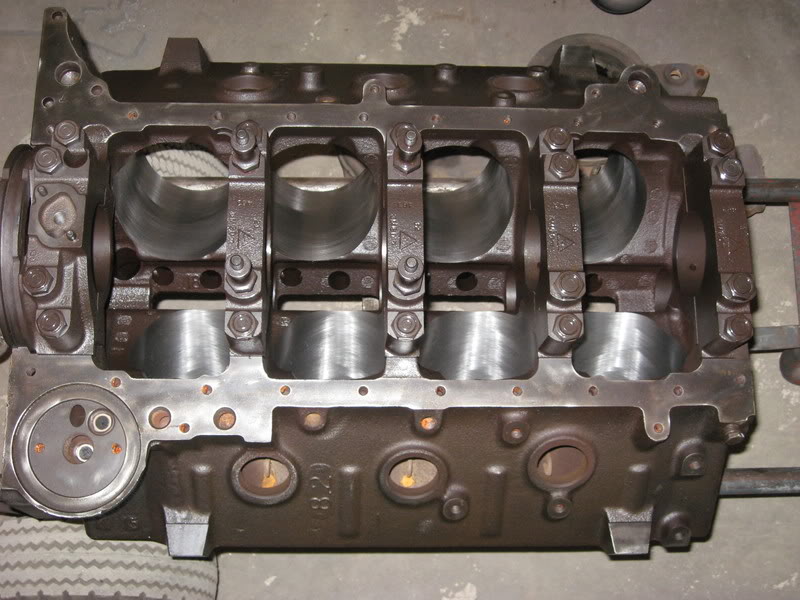
502 Block
Freshly painted engine bay
4.250 crank
6.385 rods, these were actually not the ones used as we later switched to h-beams
4.56 Pistons
502 Block