
Update: Car Finished!


Thread Starter
Registered User
Joined: Aug 2007
Posts: 60
From: Toronto, Ontario, Canada
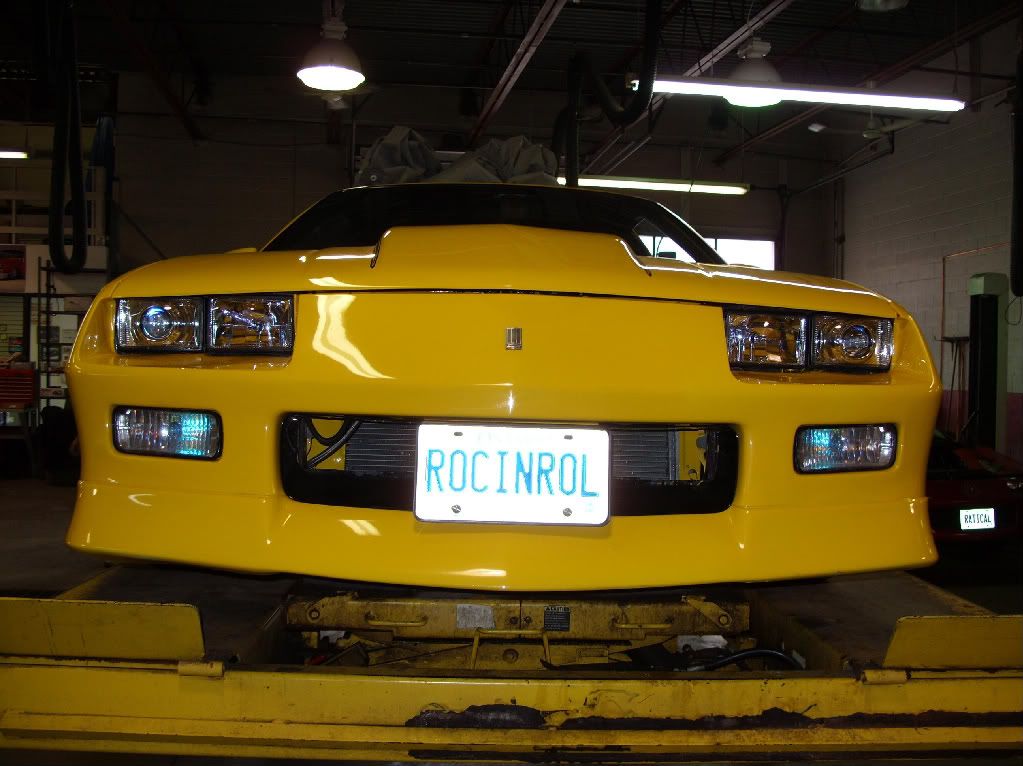
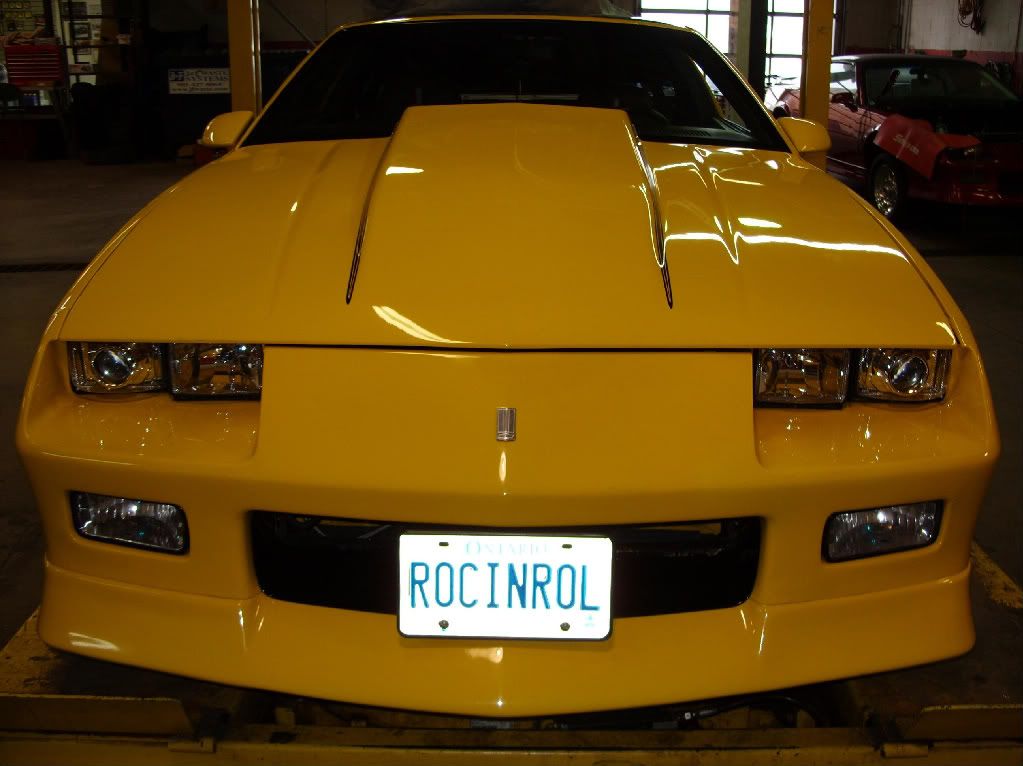
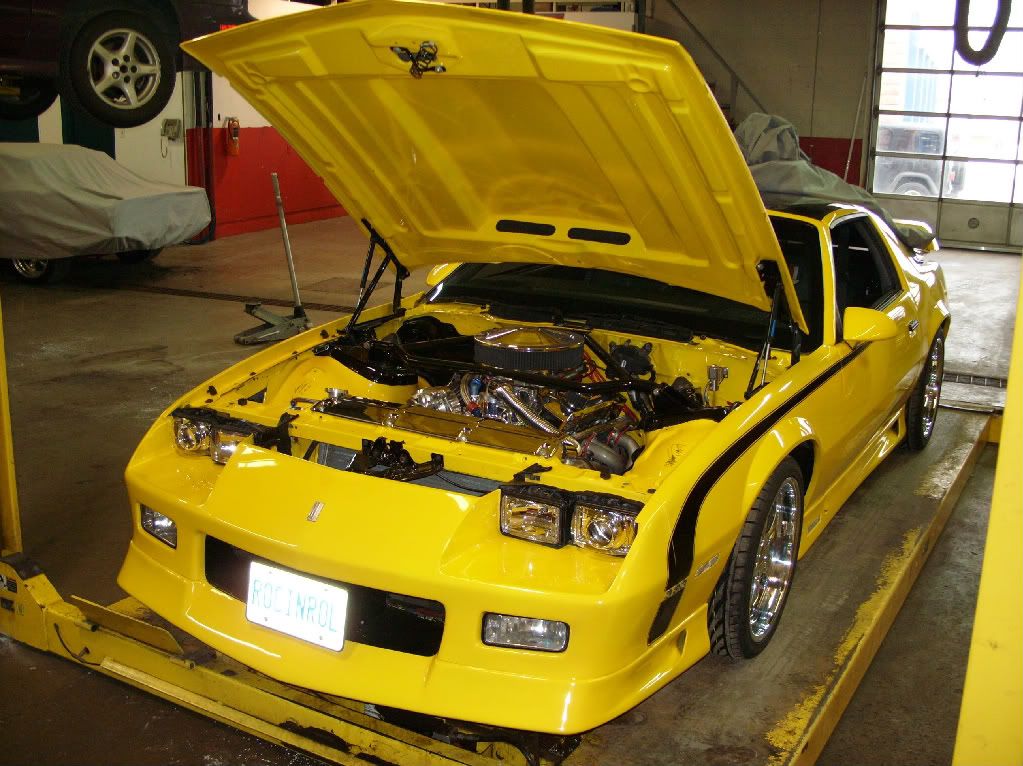
Well here it is, the car is done until later this year when I add the new big brakes, tubular K-Member/A-Arms & the air ride kit in the fall or more probably next winter, I am still waiting for 2 parts to come in the mail 1: New front turn signal lenses (same kind) 2: Billet Camber/Caster Plates, here are the pictures that you all have been waiting for...enjoy!
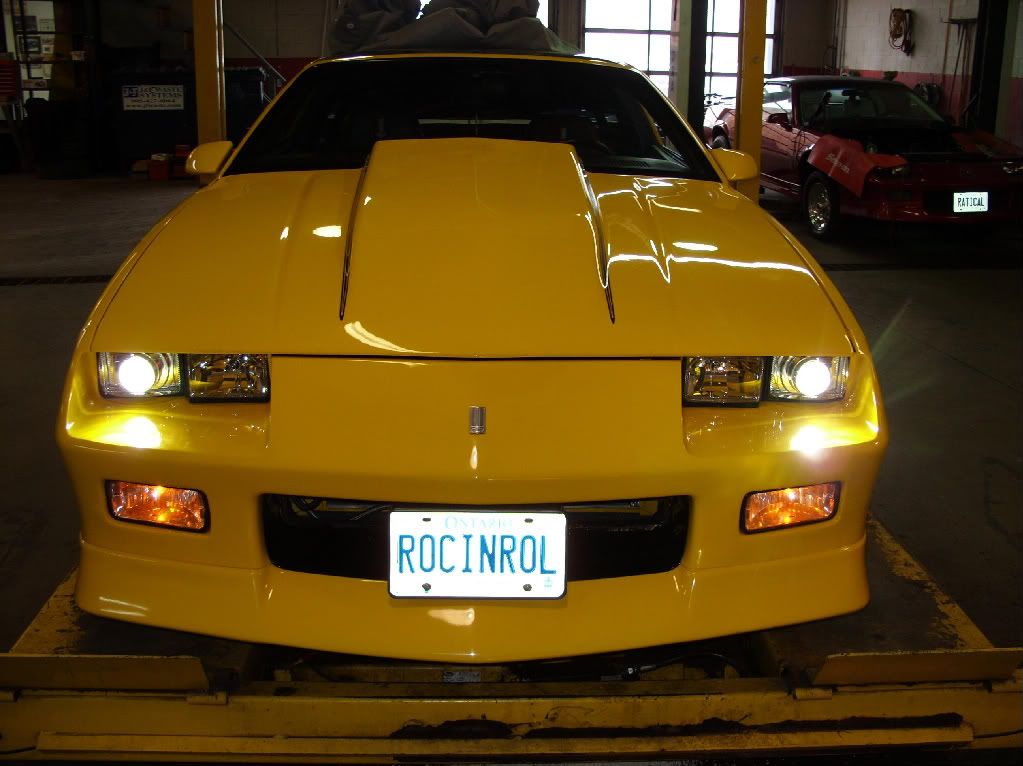
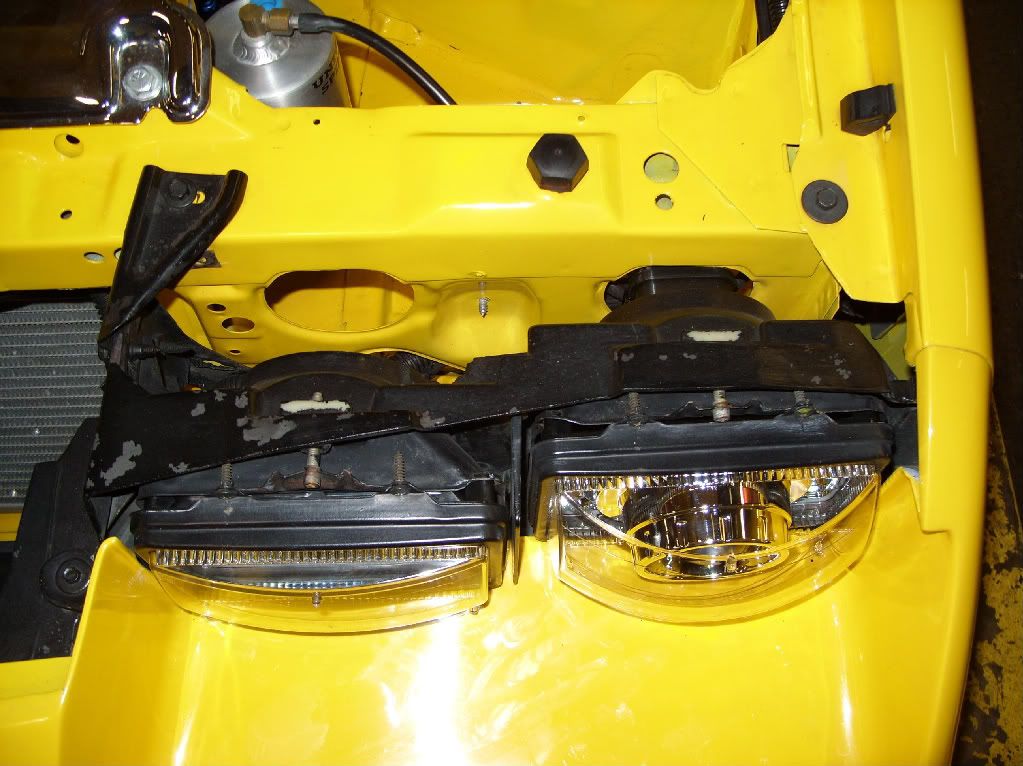
I'll start off with the new HID headlights, it was a breese to install, it only took about 2 hours which consists of 2 power wires & a ground that hooks up to the factory wiring, the only mod that has to be done is to trim the headlight holders/buckets on the back so that the back part of the lights fit through...that is it! after that little mod everything was in place and lighting up the garage LOL! I am really happy with these lights because it's something different and I have only seen 1 other 3rd gen Camaro that has them...I think that I am the only one in Canada with these headlights on this type of car...

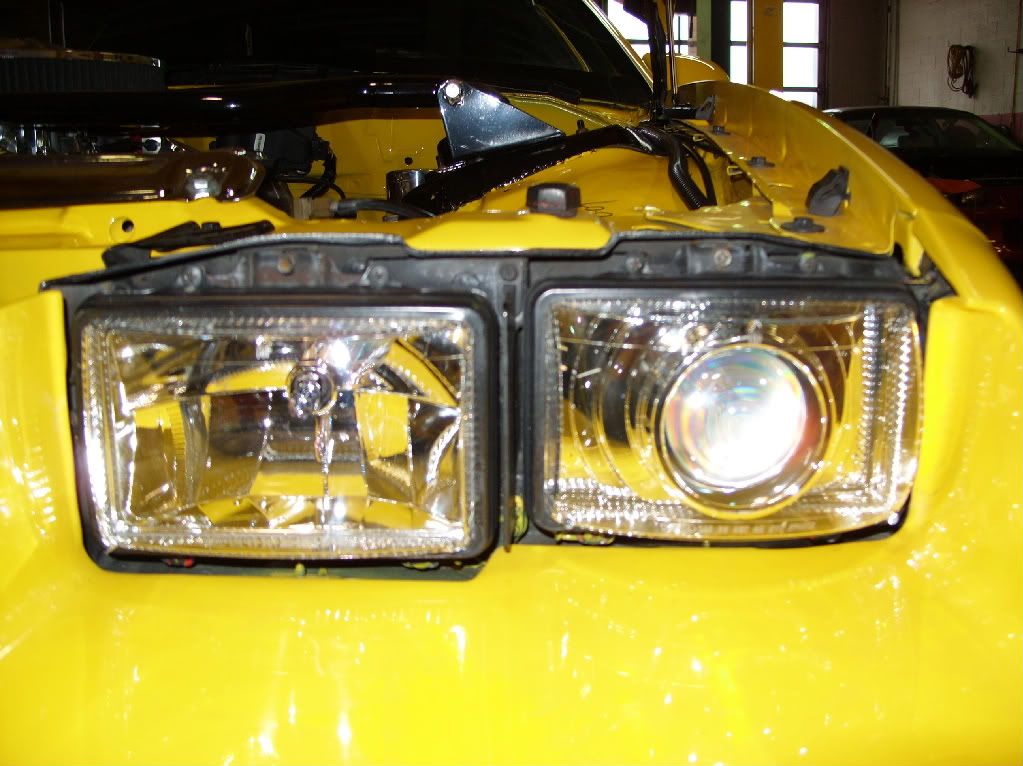
...here are a couple of close up shots of the HID's...
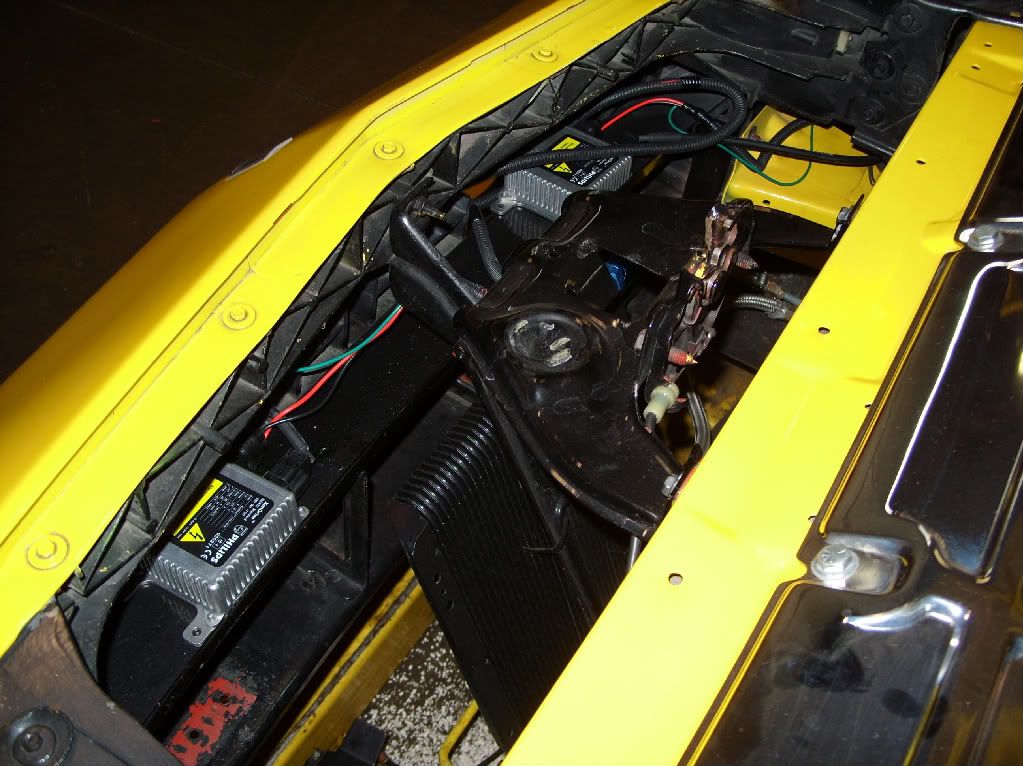
...here is a pic of where I put the ballast's, right in the front...outta site & keeping cool from the air flow, now I just have to tidy up the wires neatly and we are in business...
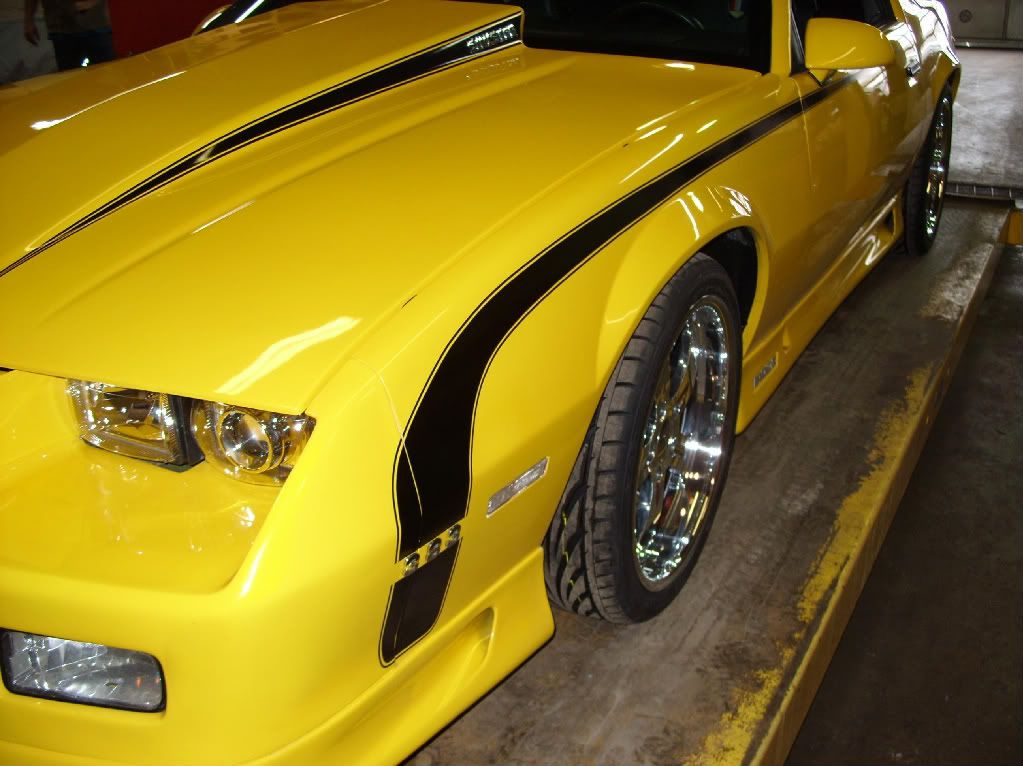
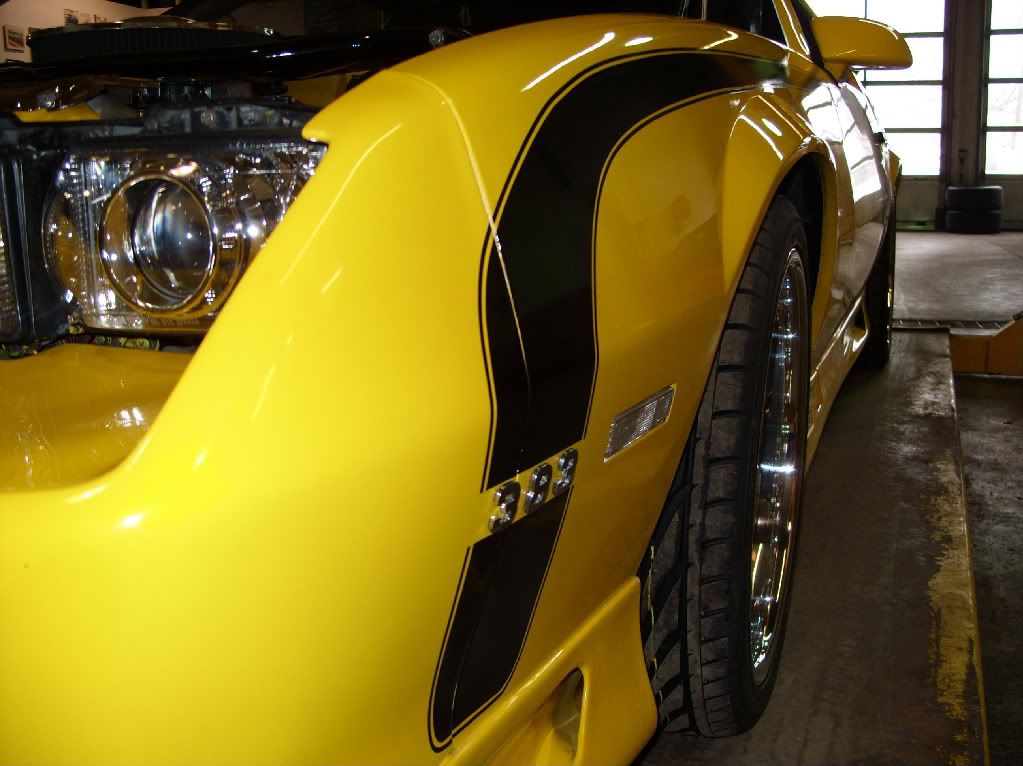
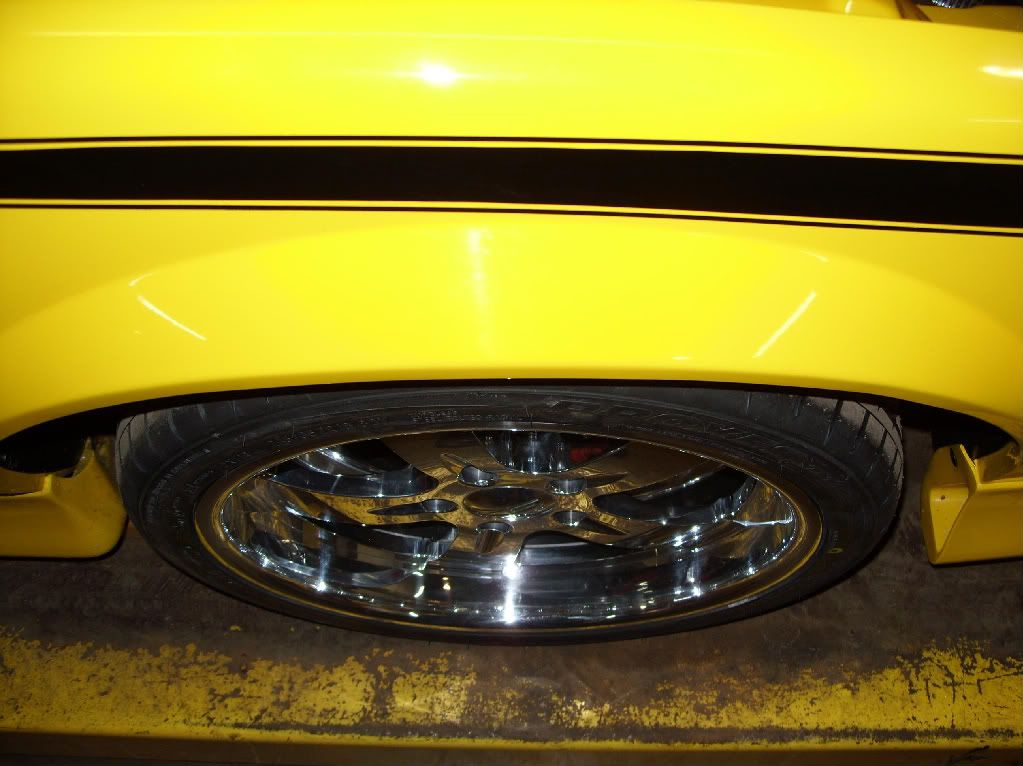
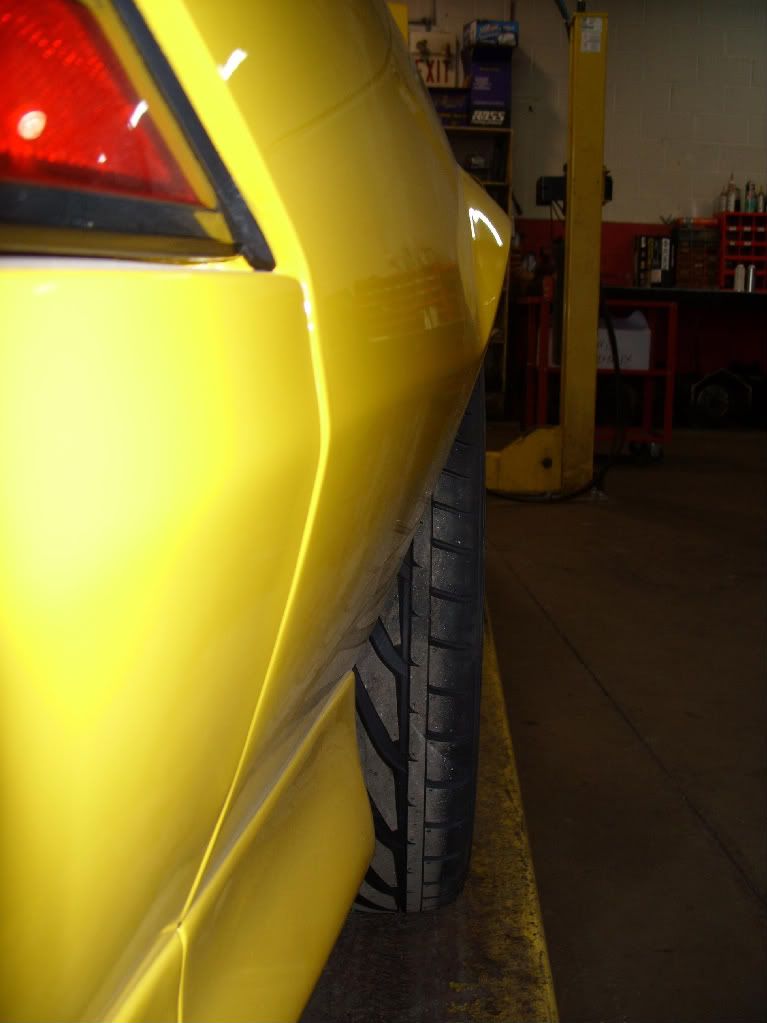
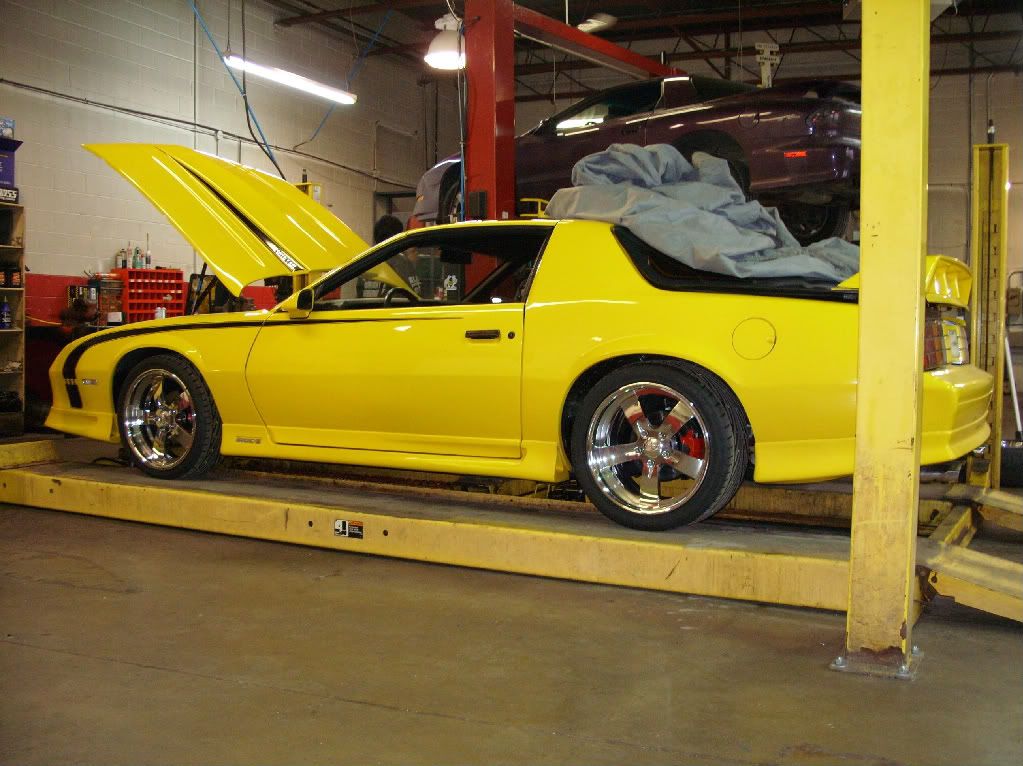
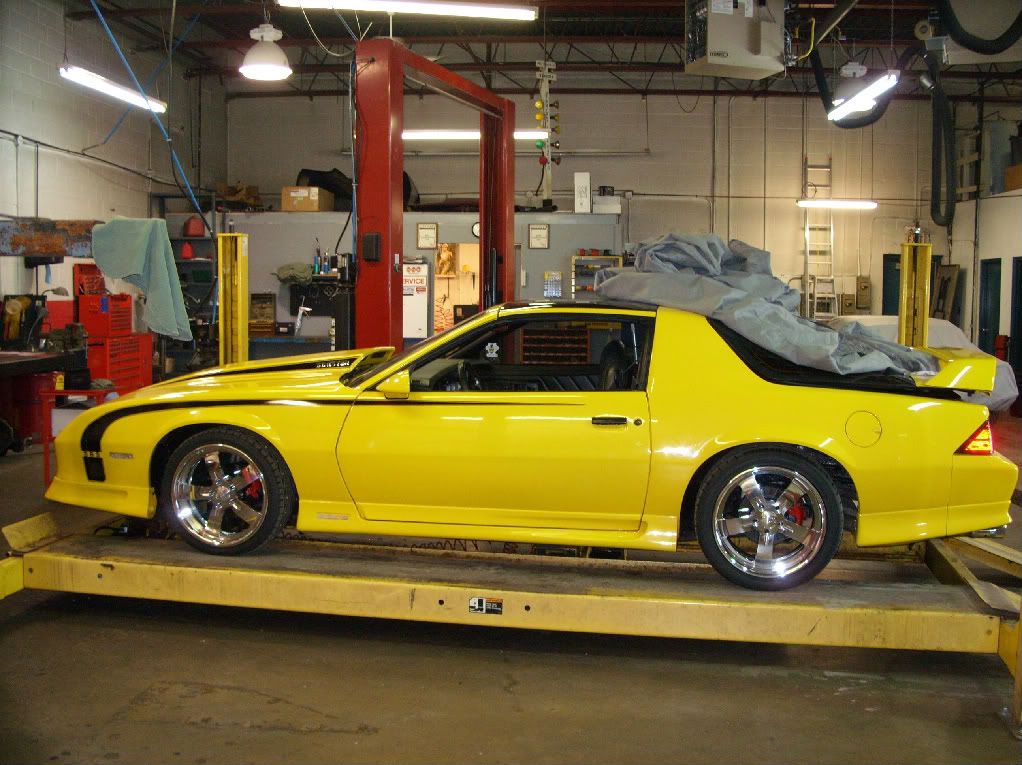
...you can see here the side shot of the headlight & wheels tucked in nicely, kinda like a Pro-Street Look from the front...
...continued...
I'll start off with the new HID headlights, it was a breese to install, it only took about 2 hours which consists of 2 power wires & a ground that hooks up to the factory wiring, the only mod that has to be done is to trim the headlight holders/buckets on the back so that the back part of the lights fit through...that is it! after that little mod everything was in place and lighting up the garage LOL! I am really happy with these lights because it's something different and I have only seen 1 other 3rd gen Camaro that has them...I think that I am the only one in Canada with these headlights on this type of car...
...here are a couple of close up shots of the HID's...
...here is a pic of where I put the ballast's, right in the front...outta site & keeping cool from the air flow, now I just have to tidy up the wires neatly and we are in business...
...you can see here the side shot of the headlight & wheels tucked in nicely, kinda like a Pro-Street Look from the front...
...continued...
Last edited by Sinister/Rocinrol; Mar 14, 2008 at 05:32 AM.
Thread Starter
Registered User
Joined: Aug 2007
Posts: 60
From: Toronto, Ontario, Canada
...continued...
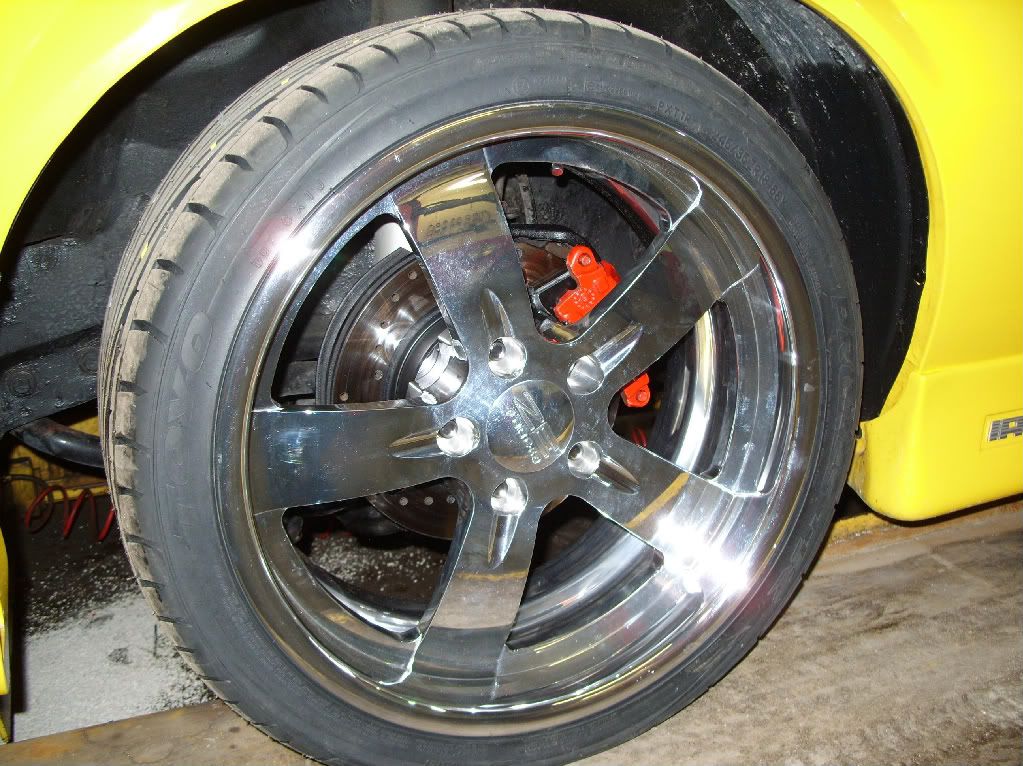
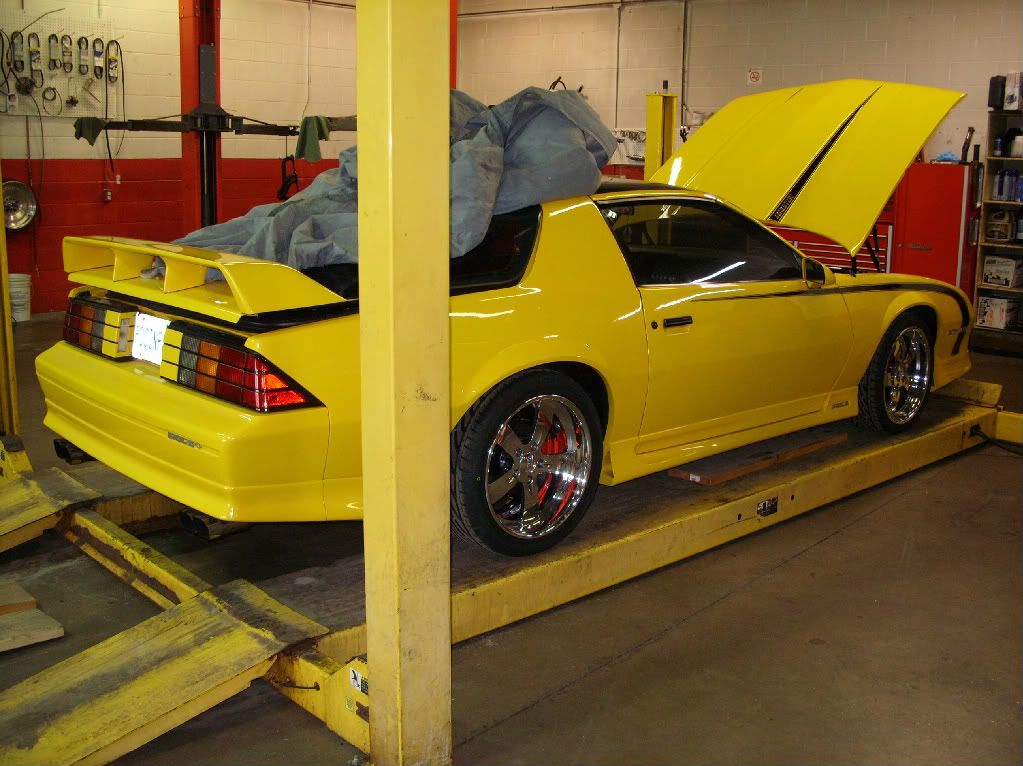
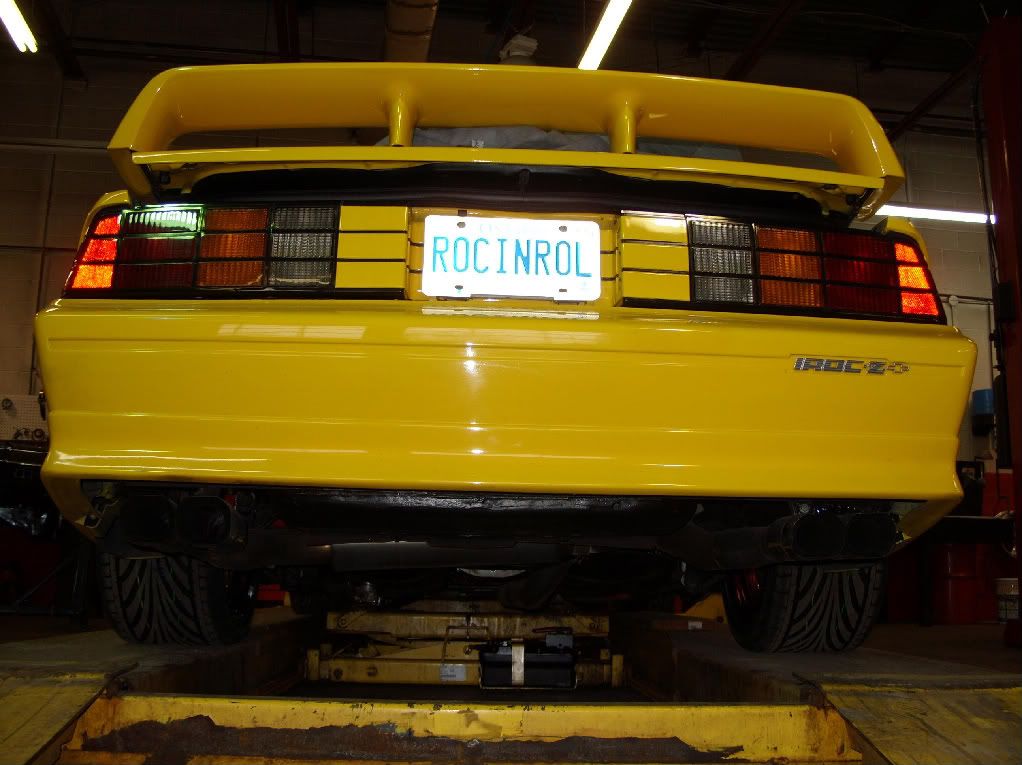
...from the back side, I love it how it looks...
...I put my iPhone on the rear rim to give you guy's a general idea on how deep the lip really is...

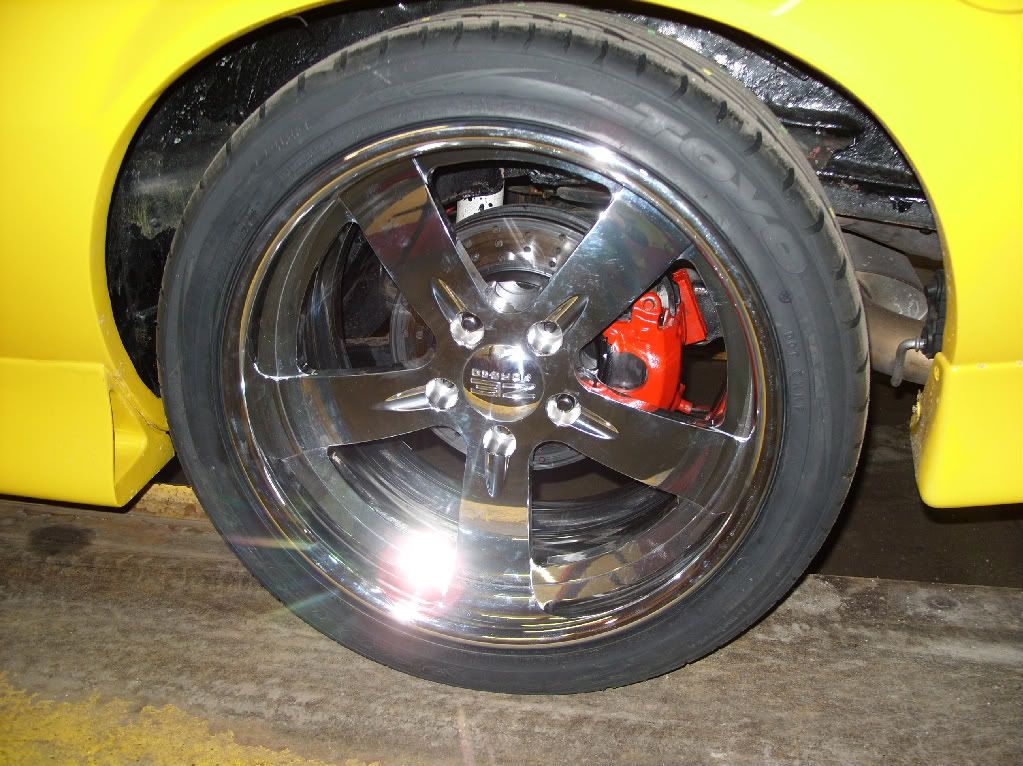
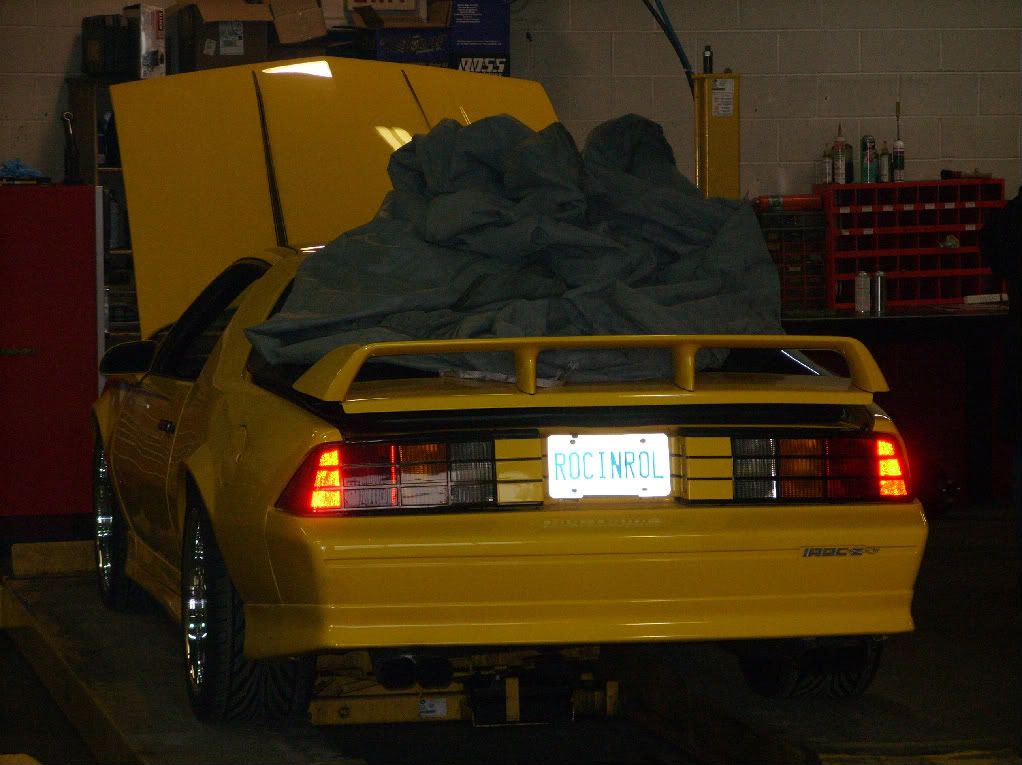
...finally the car itself on the, well not technically on the ground but on the ramp lift, the stance is nice and the new Bose "Octane" Rims really make it look wild & unique!!!
 [/B]
[/B]
...from the back side, I love it how it looks...
...I put my iPhone on the rear rim to give you guy's a general idea on how deep the lip really is...
...finally the car itself on the, well not technically on the ground but on the ramp lift, the stance is nice and the new Bose "Octane" Rims really make it look wild & unique!!!
[/B]
Last edited by Sinister/Rocinrol; Mar 14, 2008 at 05:43 AM.
 What kind of shop is that? I'm noticing another nice Camaro in the background.

Registered User
Joined: Mar 2003
Posts: 727
From: Alcohaulin Ass
Registered User
Joined: Mar 2005
Posts: 12,312
From: Aurora, IL


Thread Starter
Registered User
Joined: Aug 2007
Posts: 60
From: Toronto, Ontario, Canada
Thread Starter
Registered User
Joined: Aug 2007
Posts: 60
From: Toronto, Ontario, Canada
Thread Starter
Registered User
Joined: Aug 2007
Posts: 60
From: Toronto, Ontario, Canada
Tires - $1200.00
Lights - $1200.00
Intake -$400.00
and then there is the time for the mechanic but I got a good deal because he is the only one that has ever worked on the car since I moved here to Toronto in 1997

Registered User
Joined: Mar 2003
Posts: 727
From: Alcohaulin Ass
Well, I was asking what you think you spent for EVERYTHING. In other words, how much did you drop since you started the project. I am on the tail end of a 3rd gen restoration and am curious if I could have done anything differently to save $.