Metal Widebody, now with 18 by Thirteen-y goodness
 06-07-2011, 06:23 PM
#31
Registered User
Thread Starter
Join Date: Sep 2009
Location: Enola, Pa
Posts: 70
Re: Metal Widebody, now with 18 by Thirteen-y goodness
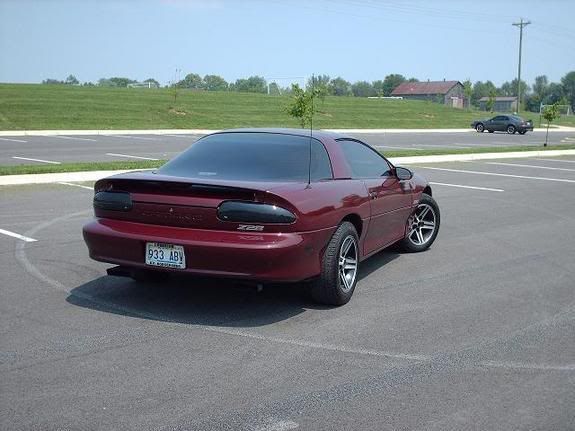
Oddly enough, this is the only black cherry pics I have. This car has red metalflake in the clearcoat. I think this looks pretty decent.
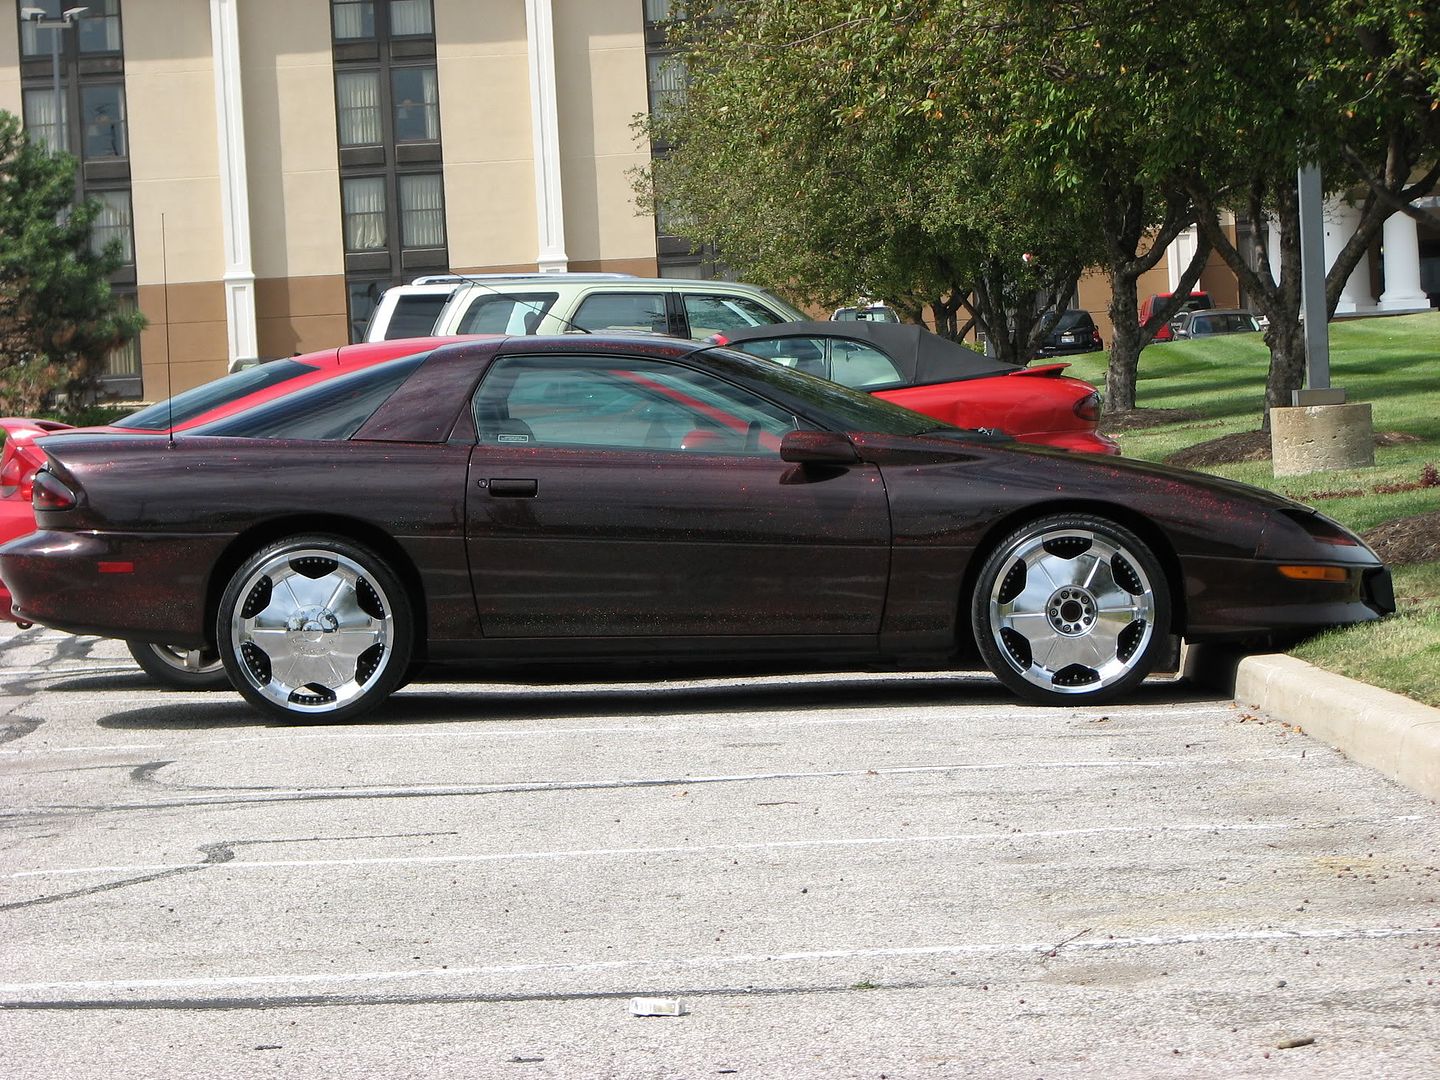
These pics are big, so click the links to see full size.
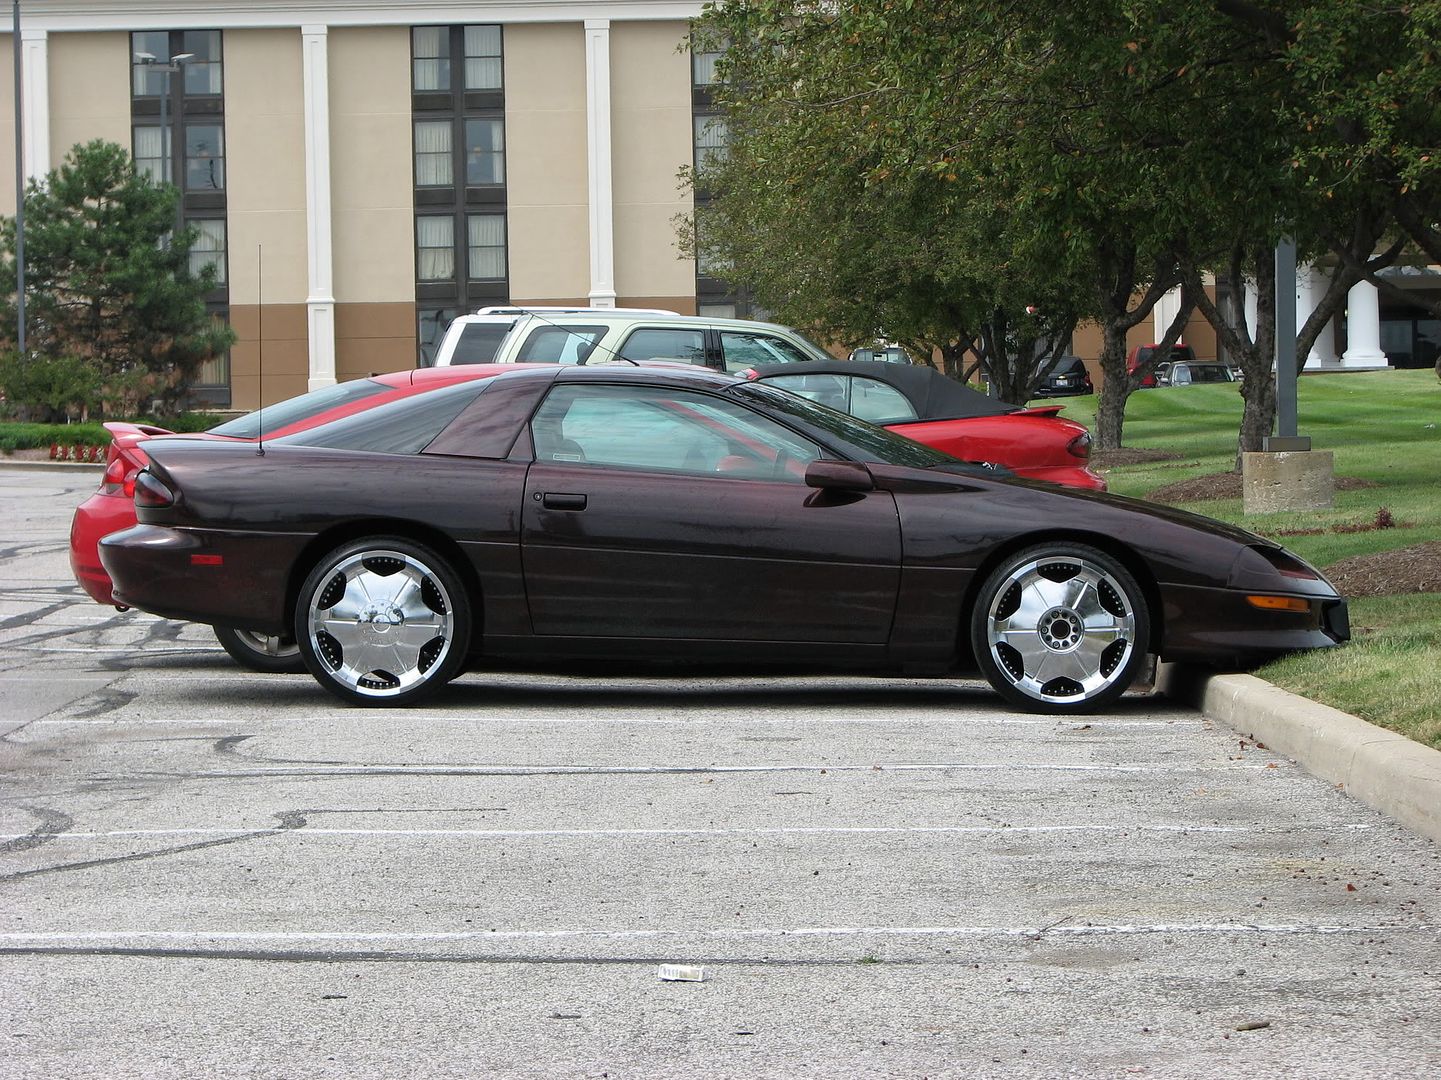
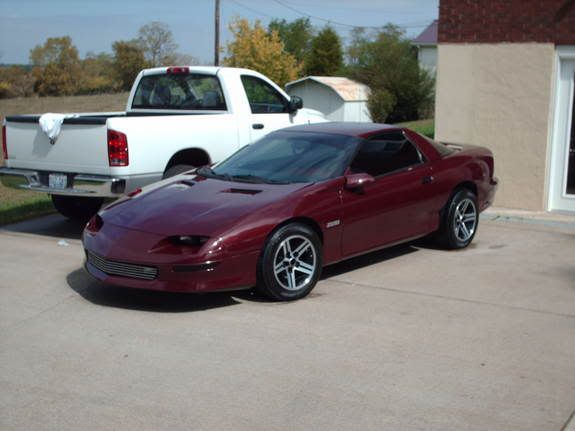
Every other pic I have is just maroon or dark red. I don't like the one below at all.
Ex:
These pics are big, so click the links to see full size.
Every other pic I have is just maroon or dark red. I don't like the one below at all.
Ex:
That overall color is just about exactly what I wanted. I plan on keeping the black sail panel, door handles and mirrors, and then throw some gray metallic in there to highlight some of the curves. Even the inverse gray/BC would look good as well.
The second one is just kinda.. Meh. Somebody put a lot of work into the details like the grill and marker lights, and that's done well, but the color just makes the car disappear.
 06-07-2011, 06:42 PM
#32
Registered User

Join Date: May 2002
Location: Dallas, Texas
Posts: 5,556
Re: Metal Widebody, now with 18 by Thirteen-y goodness
Hmm, well if you want to do black cherry, I'd do black cherry on the entire car (just like that person did). I'm imagining a black roof, mirrors, and door handles on it, and they just kind of get lost. The headlight buckets and grill should be black for sure though. And then the hump could be gunmetal or whatever.
Sort of like this C16, but obviously blackish red.
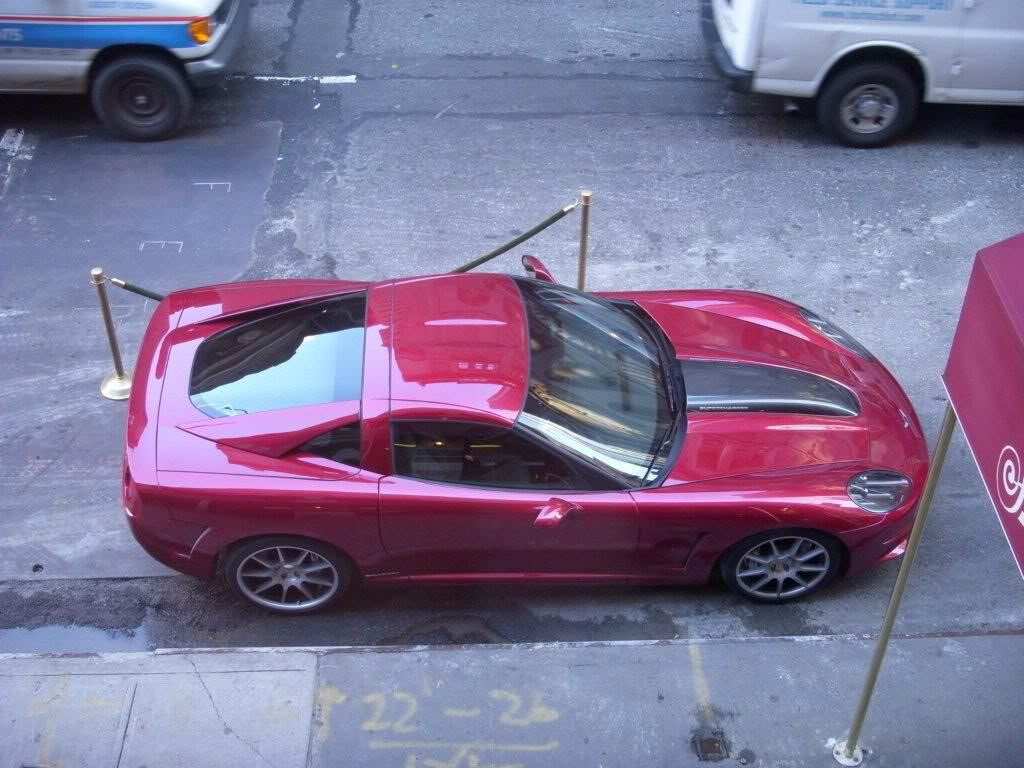
Or, I guess it'd be more like this.
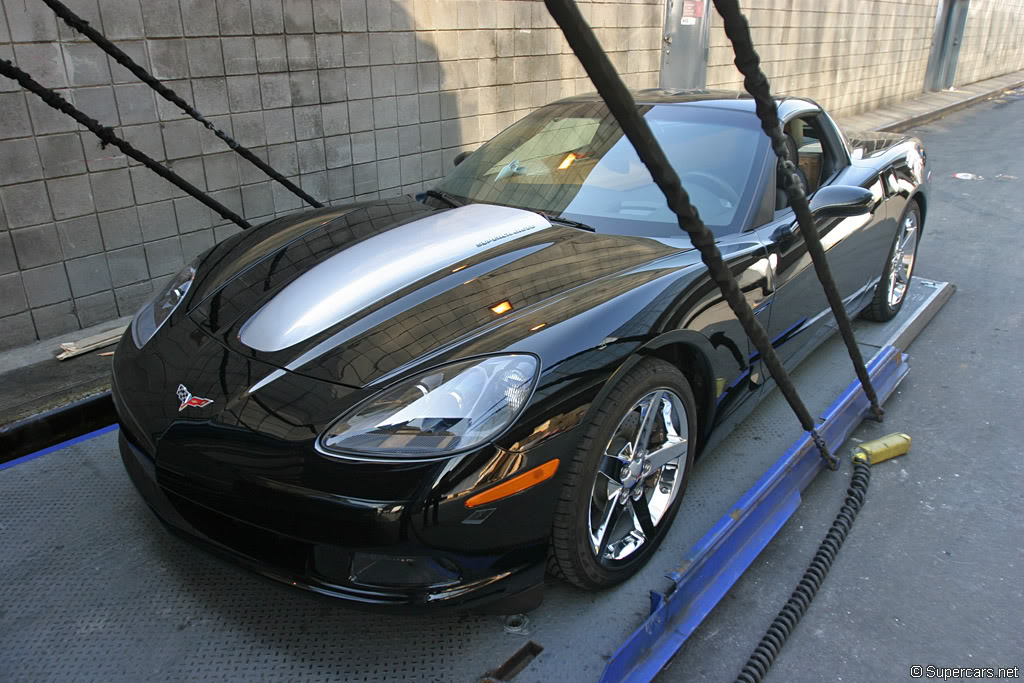
Sort of like this C16, but obviously blackish red.
Or, I guess it'd be more like this.
06-18-2011, 01:06 PM
#33
Banned

Join Date: May 2011
Location: Taylor Mi
Posts: 227
Re: Metal Widebody, now with 18 by Thirteen-y goodness
Oddly enough, this is the only black cherry pics I have. This car has red metalflake in the clearcoat. I think this looks pretty decent.
These pics are big, so click the links to see full size.
http://i103.photobucket.com/albums/m...4ab411f9_o.jpg
http://i103.photobucket.com/albums/m...1bf7c3d4_o.jpg
Every other pic I have is just maroon or dark red. I don't like the one below at all.
Ex:
These pics are big, so click the links to see full size.
http://i103.photobucket.com/albums/m...4ab411f9_o.jpg
http://i103.photobucket.com/albums/m...1bf7c3d4_o.jpg
Every other pic I have is just maroon or dark red. I don't like the one below at all.
Ex:


Last edited by bobbyk3lly; 06-18-2011 at 01:08 PM.
06-28-2011, 07:41 PM
#36
Registered User
Thread Starter
Join Date: Sep 2009
Location: Enola, Pa
Posts: 70
Re: Metal Widebody, now with 18 by Thirteen-y goodness
Yes and no.. I'm in the process of moving all my stuff and the car to a dedicated garage space so the GF will stop losing her mind.. I'm taking the car up to NY next weekend to a metalshapers' garage and get-together where there's a bunch of really nice tools and lots of experienced guys to get the metal work on the road to being complete.
06-30-2011, 08:45 AM
#38
Registered User
Thread Starter
Join Date: Sep 2009
Location: Enola, Pa
Posts: 70
Re: Metal Widebody, now with 18 by Thirteen-y goodness

I know it's not directly Z28 related, but I'll post pics of some of the tools and equipment they have. He's got a Yoder off the USS Oriskany that was used to fab aircraft parts, a ten-ton inertia shear, custom made English wheels, and two of everything else. There'll also be some other neat cars there in various states of fabrication.
07-07-2011, 12:04 AM
#39
Registered User

Join Date: Dec 2000
Location: NYC, NY
Posts: 776
Re: Metal Widebody, now with 18 by Thirteen-y goodness
ambitious project, a lot of respect. I'm only starting to shape metal. I'm more of a composite guy. Can't say one is easier than the other.
Looking forward to more updates... the more detailed the better.
Looking forward to more updates... the more detailed the better.
07-07-2011, 12:48 AM
#40
Registered User
Thread Starter
Join Date: Sep 2009
Location: Enola, Pa
Posts: 70
Re: Metal Widebody, now with 18 by Thirteen-y goodness
Composites seem like they'd be easy, but I'm betting that's not the case, especially if you want it to look nice.
I'm loading it up in the morning and heading off to Upstate NY (Herkimer) for the weekend to take advantage of nice tools and a great deal of knowledge. I wouldn't expect great strides- The last 10 percent of everything takes 90 percent of the total time.. But, then again- I do expect to have the fender lip finished, or at least the scoop.
SOMEthing's gonna get done, by gawd, if it kills me. I will do my best to document all I can this weekend.
Last edited by SumTingWong; 07-07-2011 at 01:00 AM.
07-10-2011, 07:36 PM
#41
Registered User
Thread Starter
Join Date: Sep 2009
Location: Enola, Pa
Posts: 70
Re: Metal Widebody, now with 18 by Thirteen-y goodness
More progress-
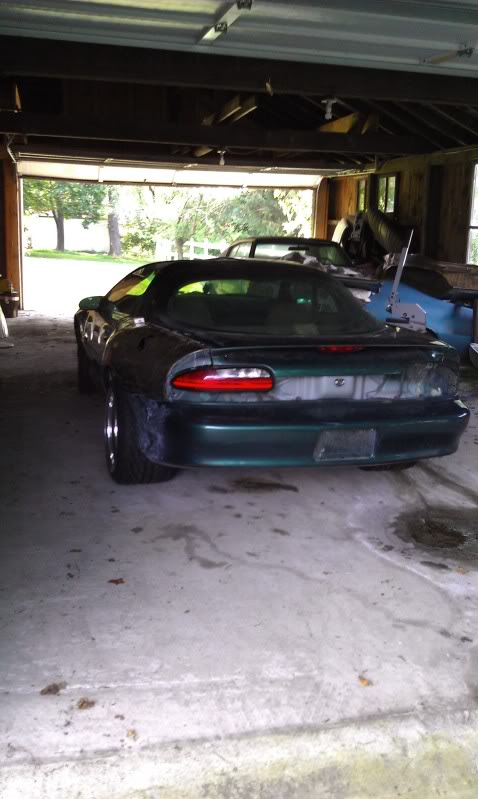
Back from New York, at home in the new shop. She damn near took my leg off, but that's what happens when you try to get it off a trailer yourself.
---------
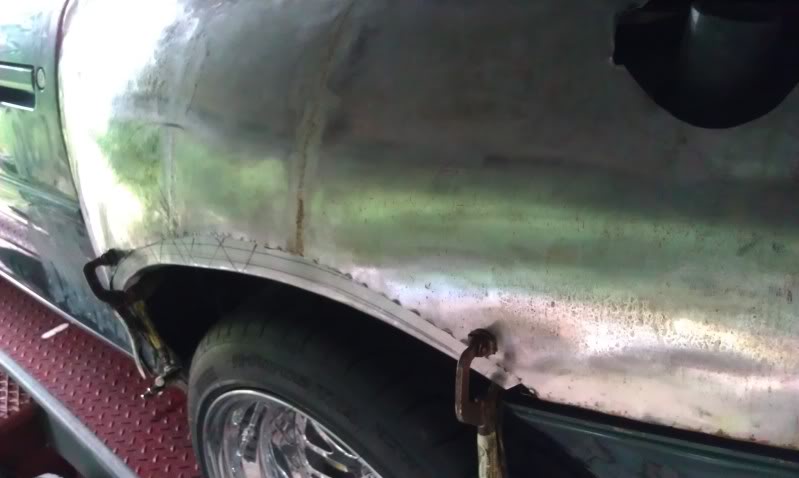
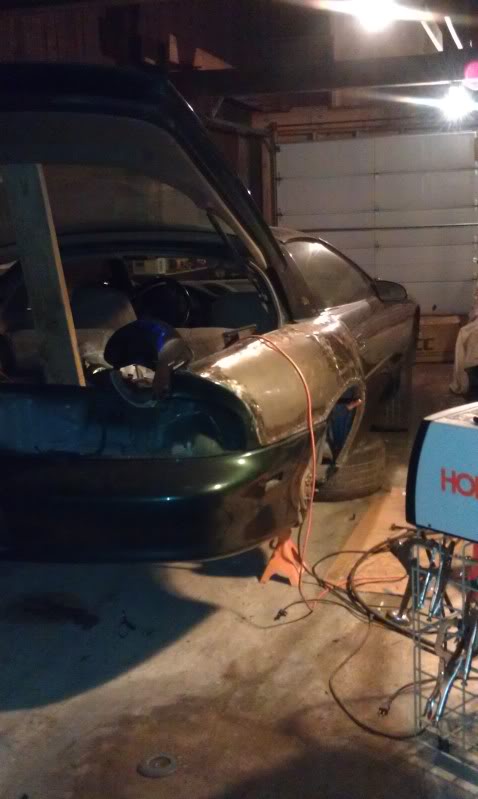
Here's a view of the seldom seen passenger side which needs a flange yet.
--------
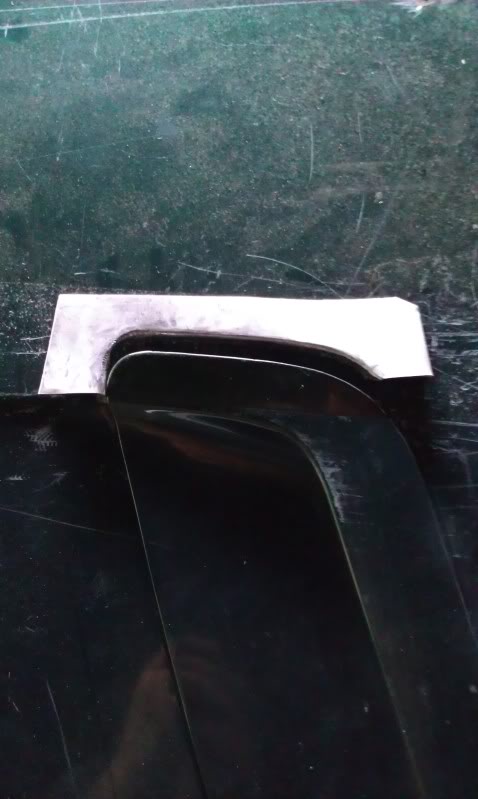
The flange has a bead, or lip- already rolled into it. It's going to be put into a shrinker/stretcher to give it the curvature to match the wheel opening. I find that it's easier to do the bead first, because it affects the shape if you try to roll that in after you get the curvature set.

----------
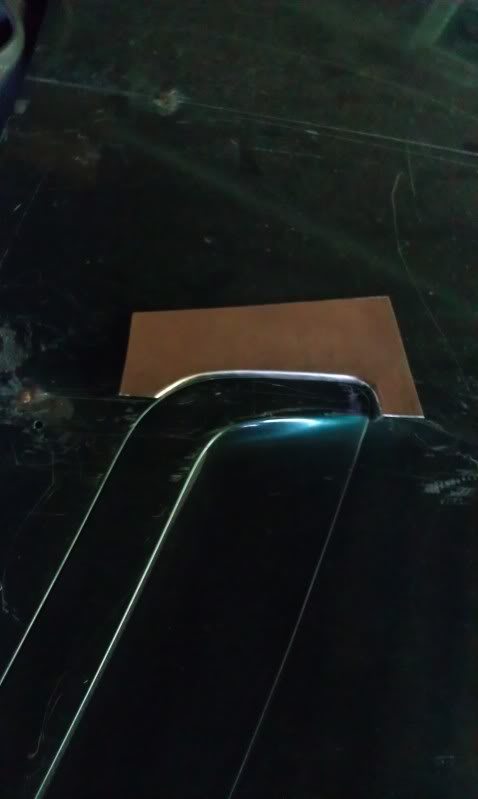
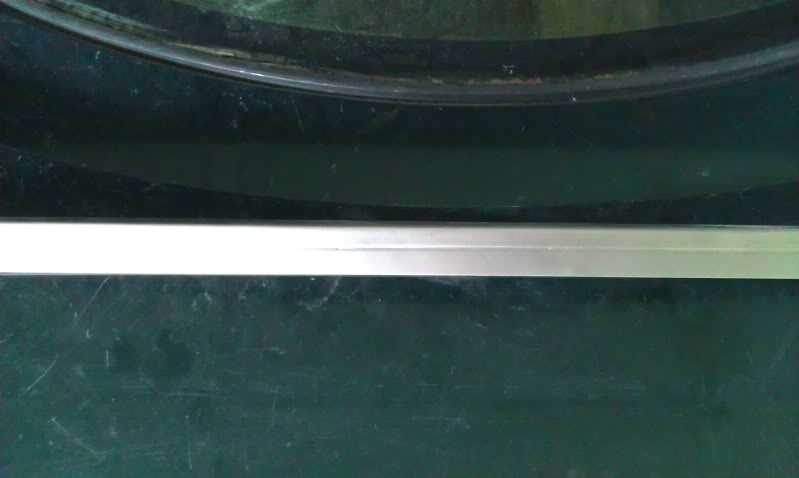
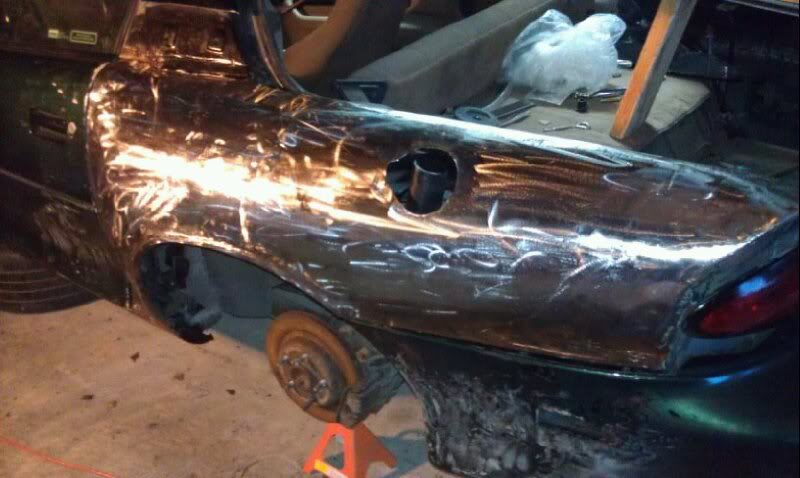
The cut-outs for the vent match the outline, and have very clean, tight edges. I'll weld these into the scoop. It's easier to manipulate these and make a much cleaner piece, as opposed to trying to hold the whole piece while doing the cut-outs.
-----------
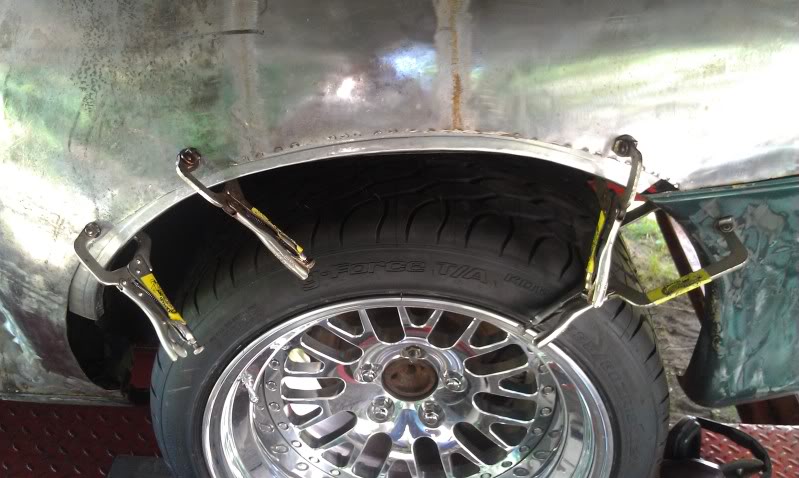
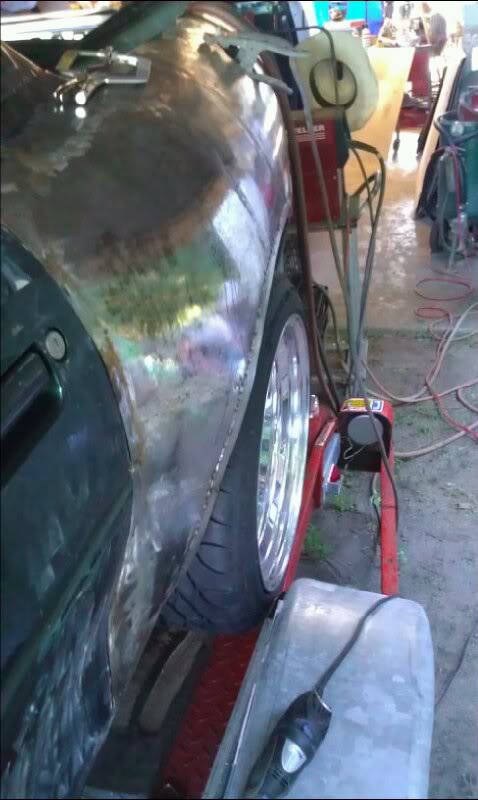
Fitting up the wheel flange
-----------
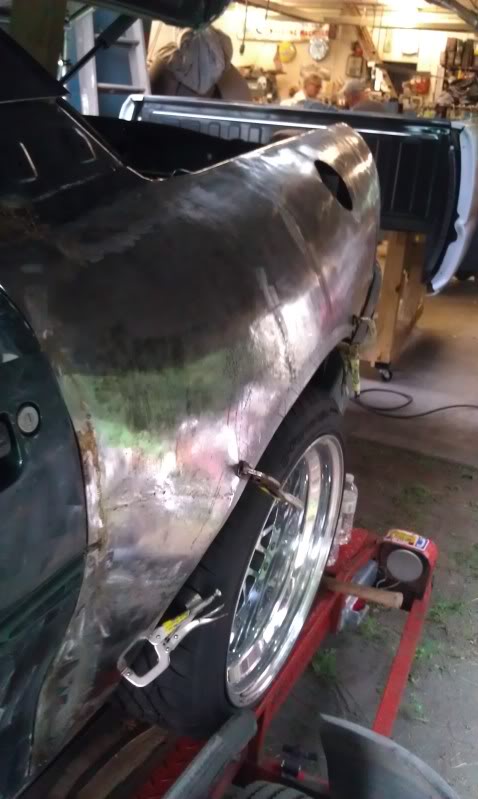
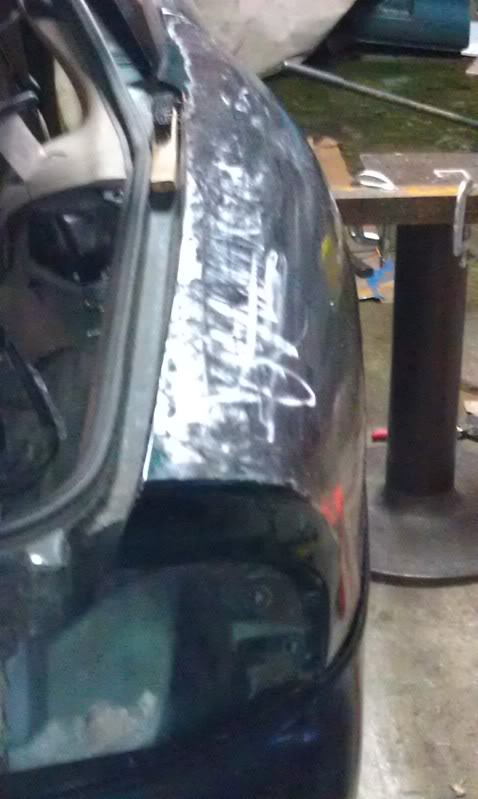
Tacked in, and ready to finish. The fender itself has been stretched, smoothed and planished.
More pics to come later this week, once I get all my gear moved to the new shop.
Back from New York, at home in the new shop. She damn near took my leg off, but that's what happens when you try to get it off a trailer yourself.
---------
Here's a view of the seldom seen passenger side which needs a flange yet.
--------
The flange has a bead, or lip- already rolled into it. It's going to be put into a shrinker/stretcher to give it the curvature to match the wheel opening. I find that it's easier to do the bead first, because it affects the shape if you try to roll that in after you get the curvature set.
----------
The cut-outs for the vent match the outline, and have very clean, tight edges. I'll weld these into the scoop. It's easier to manipulate these and make a much cleaner piece, as opposed to trying to hold the whole piece while doing the cut-outs.
-----------
Fitting up the wheel flange
-----------
Tacked in, and ready to finish. The fender itself has been stretched, smoothed and planished.
More pics to come later this week, once I get all my gear moved to the new shop.
07-10-2011, 08:51 PM
#44
Registered User
Thread Starter
Join Date: Sep 2009
Location: Enola, Pa
Posts: 70
Re: Metal Widebody, now with 18 by Thirteen-y goodness
I have an odd assortment of tools. I heavily modded my Harbor Freight English Wheel, to make it flex less when wheeling steel. My Mig welder is a Hobart 140 with gas, and I use a leather bag filled with lead shot on a home made stand.
I have a wooden stump with two hollows (one large, one small) for hard-core shaping and hammer shrinking. My hammers and dollies are a mix of HF and Martin. I have several of each. My two faves are an antique hammer of unknown origin and a martin wide-face. I also made hammers out of a baseball bat, and one from a bowling pin.
Shrinker/stretcher is a HF with interchangeable dies.
Slappers are made from old leaf springs, and one custom made by an old-school metal guy.
I've got a Henrob/Cobra oxy-acetylene fine tip torch, a beefed up HF bead roller, an old section of railroad track, and an Eastwood shear.
I have used any and all of these to both make and wreck sheet metal on this car.
08-18-2011, 12:28 AM
#45
Registered User
Thread Starter
Join Date: Sep 2009
Location: Enola, Pa
Posts: 70
Re: Metal Widebody, now with 18 by Thirteen-y goodness
I've got some updates, for those of you playing along at home:
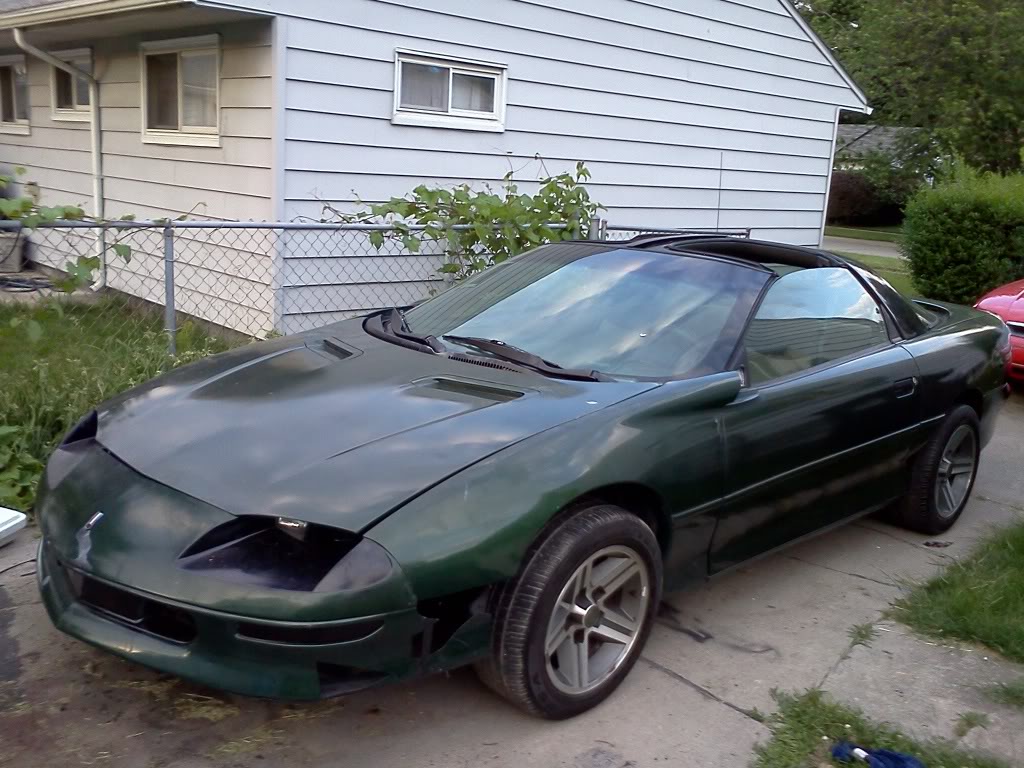
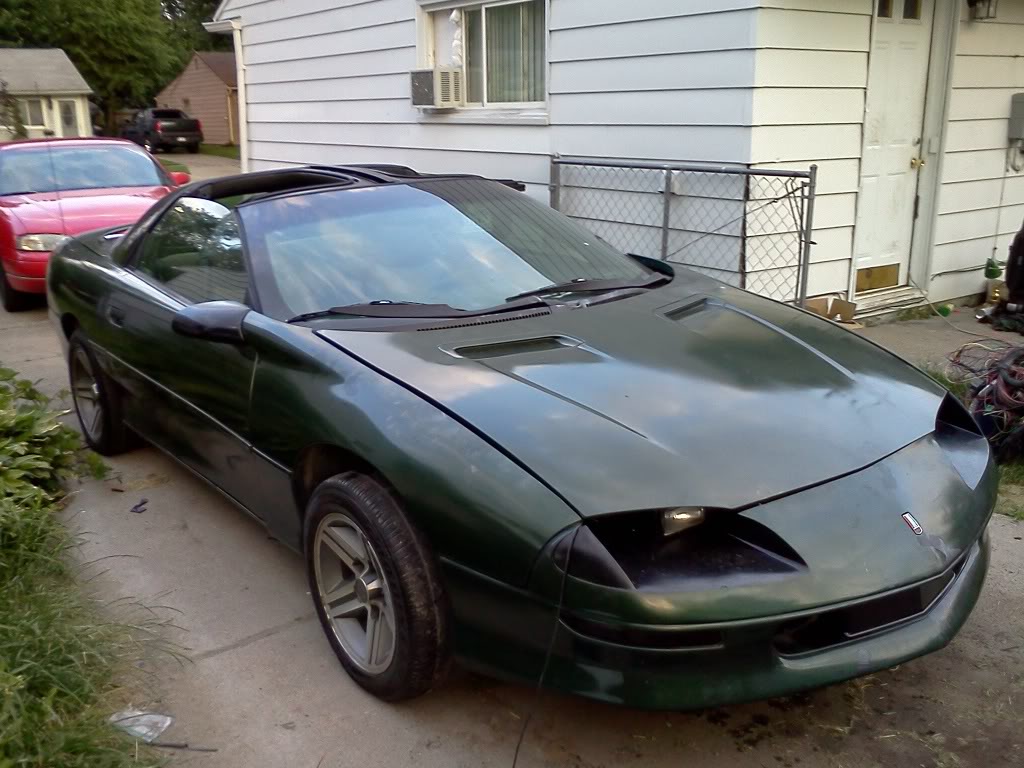
This -

And this:
Became this:
Stay tuned for hood scoop/bulgey-thingie pics sometime next week, or- This weekend if I finish it.
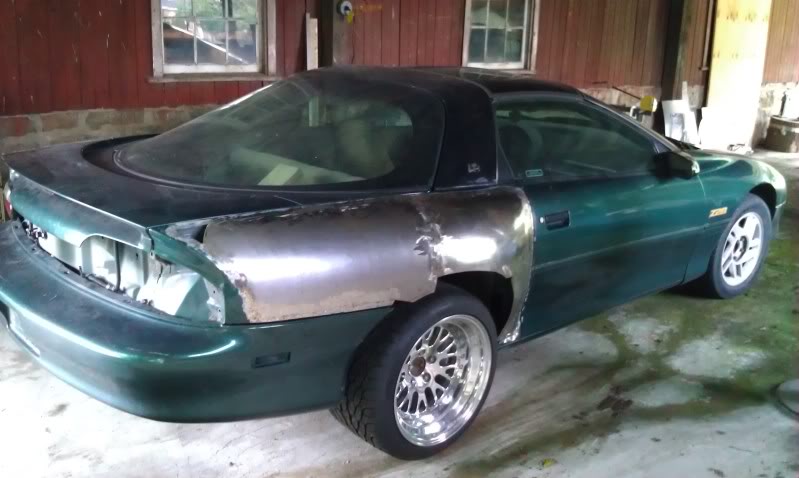
It's been run over with a flap disk to get rid of all the flash rust.
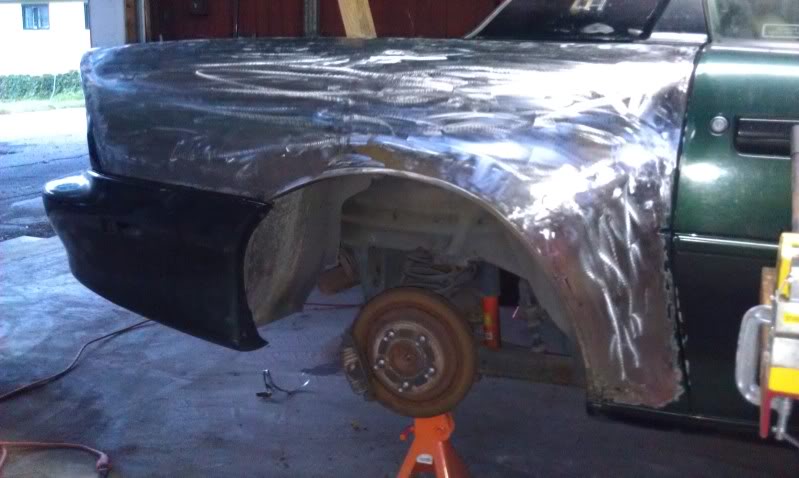
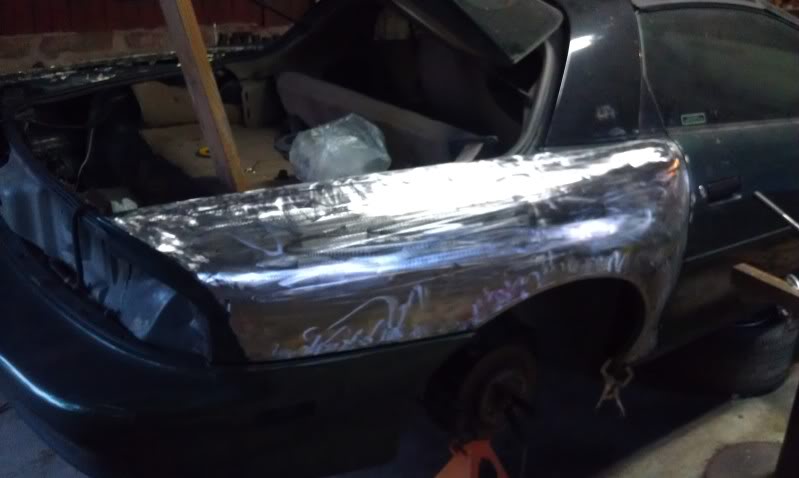
The driver's side-
I'll need to hammer in the fender lip just a bit to make it match, but both sides are within a 1\4 inch of each other which is about as good as you can expect for hand fabbed fenders by the time welding heat gets applied to them. When I take the lip in on the driver's side, they'll be within an 1/8th of an inch of each other at their widest point. They each have their little variances, but you'll have to really be paying attention to notice them.
Late night shot-
A few more angles.
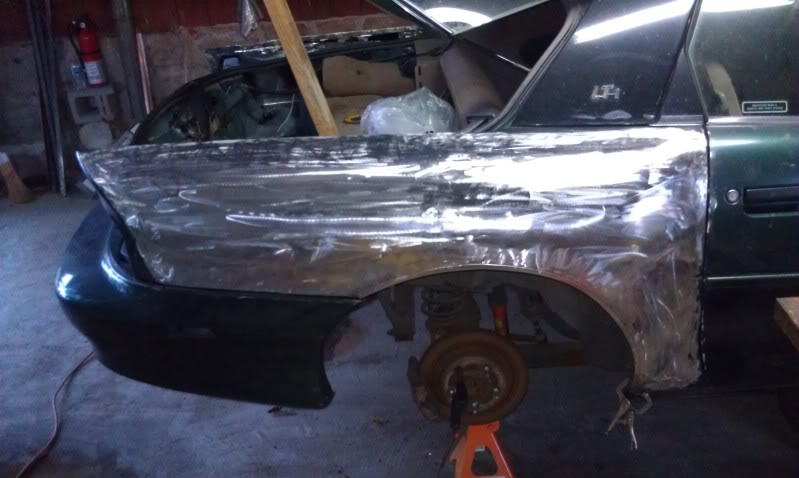
One nice big, sweeping curve.
This -
And this:
Became this:
Stay tuned for hood scoop/bulgey-thingie pics sometime next week, or- This weekend if I finish it.
It's been run over with a flap disk to get rid of all the flash rust.
The driver's side-
I'll need to hammer in the fender lip just a bit to make it match, but both sides are within a 1\4 inch of each other which is about as good as you can expect for hand fabbed fenders by the time welding heat gets applied to them. When I take the lip in on the driver's side, they'll be within an 1/8th of an inch of each other at their widest point. They each have their little variances, but you'll have to really be paying attention to notice them.
Late night shot-
A few more angles.
One nice big, sweeping curve.