
Here's how I fixed my 95 Z's cracked dash pad ...


Thread Starter
Registered User
Joined: Jan 2008
Posts: 466
From: Cypress, TX
Here's how I fixed my 95 Z's cracked dash pad ... (new photos - pad installed)
In pictorial form:
http://picasaweb.google.com/calder.c...eat=directlink
Let me know if I need to clarify any photos
http://picasaweb.google.com/calder.c...eat=directlink
Let me know if I need to clarify any photos
Last edited by caldercay; Nov 13, 2009 at 10:13 AM. Reason: title change
Thread Starter
Registered User
Joined: Jan 2008
Posts: 466
From: Cypress, TX

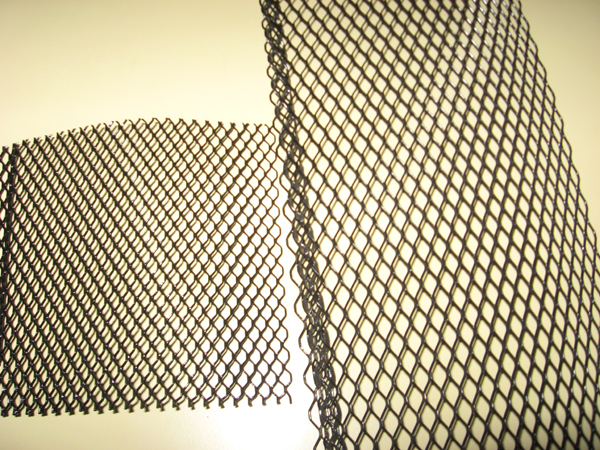
For me, it was $30 for the pleather, $5 for the epoxy, $5 for the screen,
about $10 for the headliner glue. The fiberglass cloth/resin/etc was
free - I used to own a surfboard/sailboard manufacturing shop and
have friends in the same industry
 So for about $50 bucks,
 I have a "new" dash pad.
The other reason (besides saving money) I did it was for the challenge.

Thread Starter
Registered User
Joined: Jan 2008
Posts: 466
From: Cypress, TX
repaired dash pad installed in car - photos
Well, the dash pad is back in place and looks good.
I have added photos showing the "trick" to install the dash pad.
If you've already seen the photos how I repaired the dash pad,
you can go to the album:
http://picasaweb.google.com/calder.c...eat=directlink
... and click on photo 35 of 46 (look for the "windshield" photo)
to see the photos of the steps for installation.
Special thanks go to fbodyrs96 and Superman over at fbodyonline.com:
I used the tech article fbodyrs96 wrote on how to repair the dash pad
and they both assisted me on the trick to install the pad back in place.
Thread Starter
Registered User
Joined: Jan 2008
Posts: 466
From: Cypress, TX
one day, looking all around the store for ideas. The only other option that
I considered was to use a fluorescent light fixture diffuser, like this:
http://www.goodmart.com/products/1101448.htm
... but decided the effort would be too much.
The other option would be to go to a salvage yard and find a dash pad
with an intact vent - carve it out and epoxy it in.
Thread Starter
Registered User
Joined: Jan 2008
Posts: 466
From: Cypress, TX


Banned
Joined: Mar 2004
Posts: 3,577
From: Sandy VJJville
I can't remember if I got mine from Lowe's or Home Depot. One of them only sells it in cases, which is expensive. The other sells it by the piece, which is only two bucks or so.
