Repair for 93 console Part 1
 06-26-2014, 09:24 PM
#1
Registered User
Thread Starter
Join Date: Jun 2014
Location: Michigan now. Plenty of other places
Posts: 47
Repair for 93 console Part 1
My 93 came with the common broken console lid, so I decided to see if I could repair it myself.
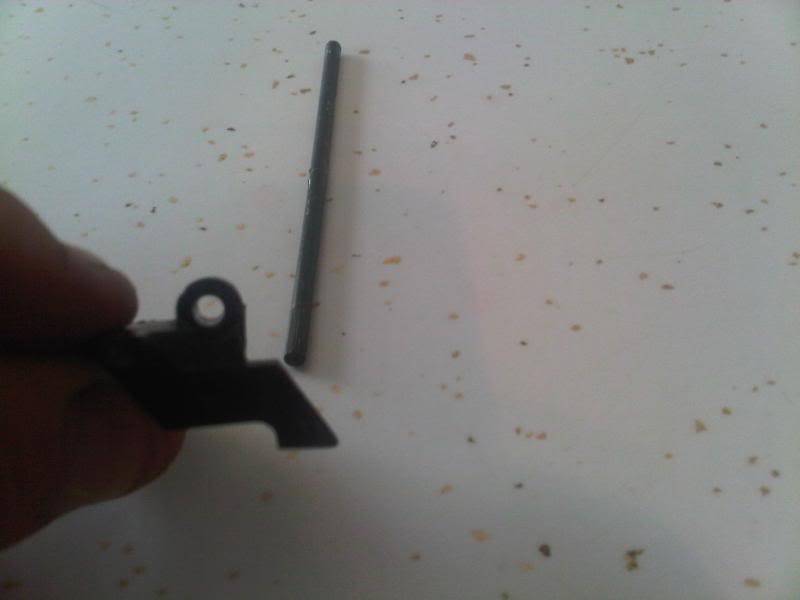
I found the console portion was unbroken, and the lid had broken the plastic tabs off. One broken section was still attached by the axle rod to the console. The other was missing, long gone.
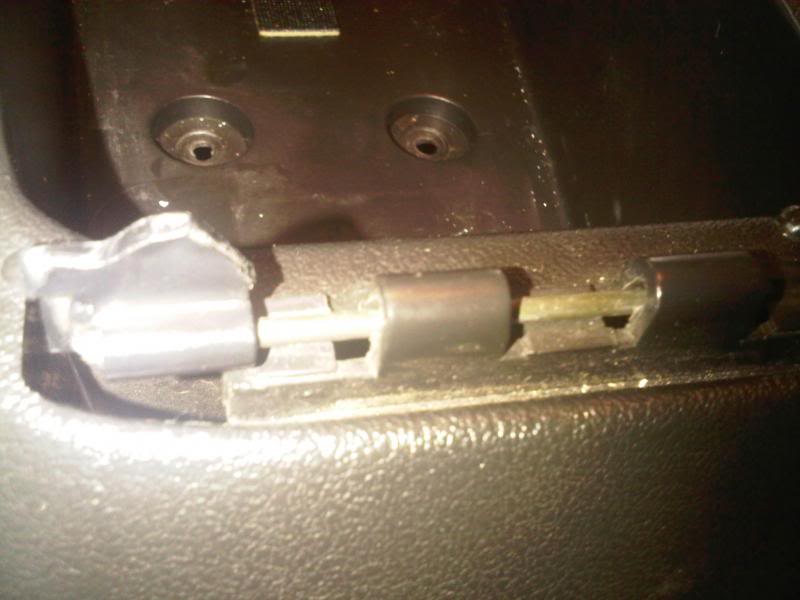
I removed the rod and broken piece. I found the fit of the axle to the piece very tight, but with some turning and care, it cam apart. allowing me to remove both the axle and the broken piece.
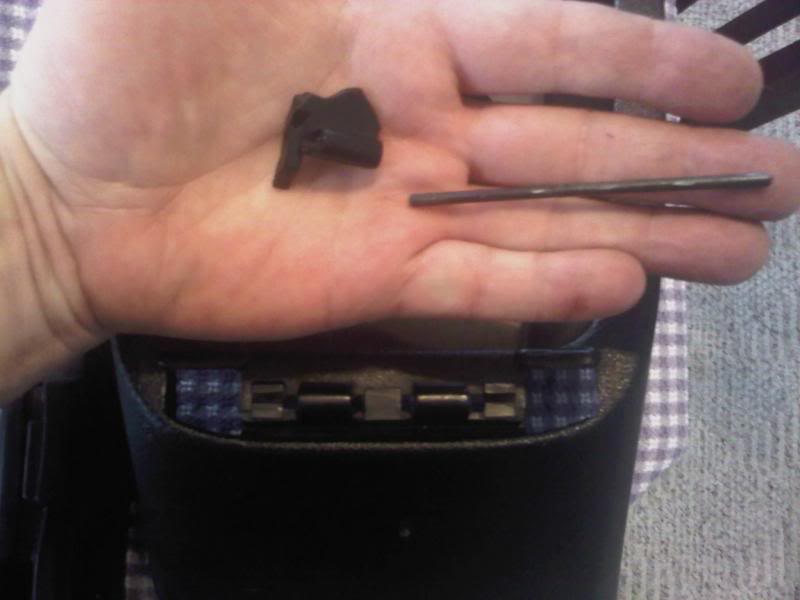
You can see how the broken piece was an exact fit to the damaged lid.
Remove the two screws holding the lid to the plastic insert and lay the padded lid cover aside until the entire repair is complete and ready for re-assembly.
I had in mind an epoxy repair and some fiberglass, but bought some two-part plastic epoxy repair to try that first.
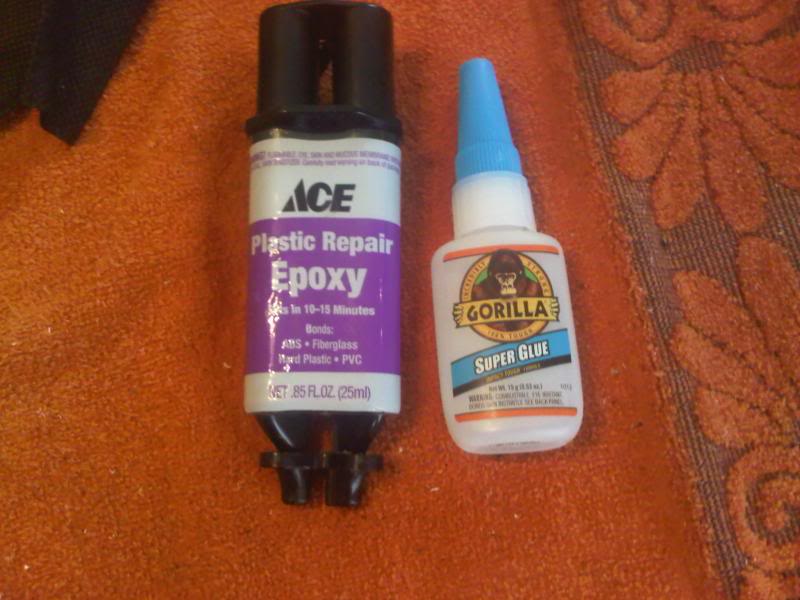
In the end, the plastic repair mix and superglue was all I needed to do the repair.
I examined the construction of the lid insert and could see the design relies on two "legs" on the lid insert to limit the opening of the lid itself. This is the design flaw that causes breakages of the hinge section
The weight of the lid assembly is just too much for the plastic integrity of the hinge.
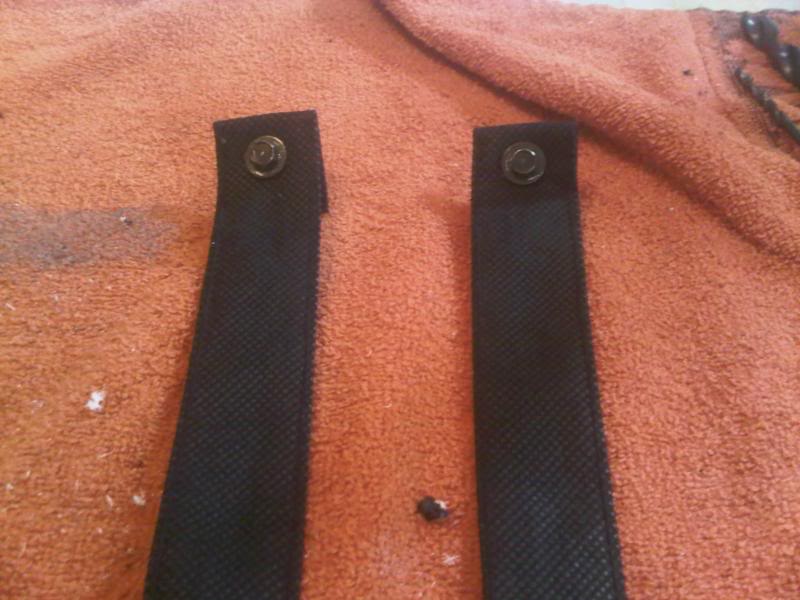
At first I decided to remake the assembly exactly as OEM, but after some thinking I decided to remove the "legs" and incorporate some simple straps to limit the opening span of the lid. they ended up being the last thing to install, the final stage of re-assembly.
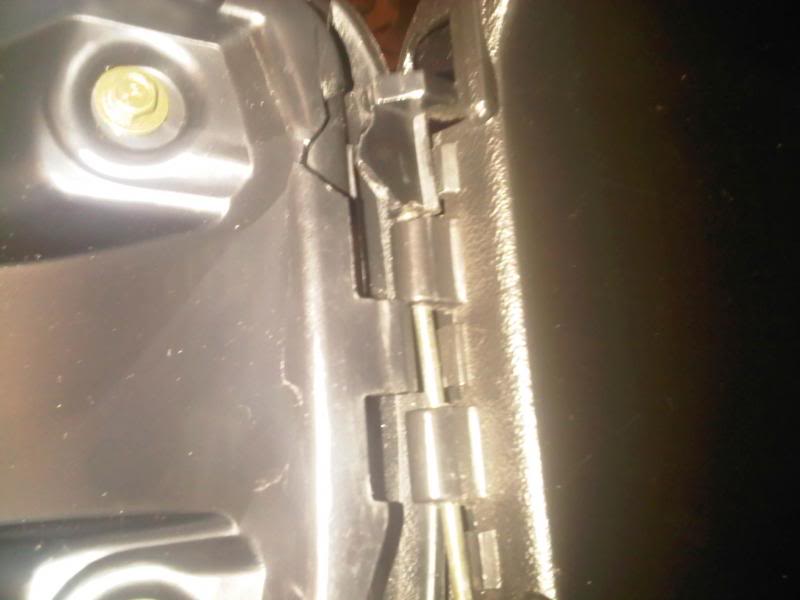
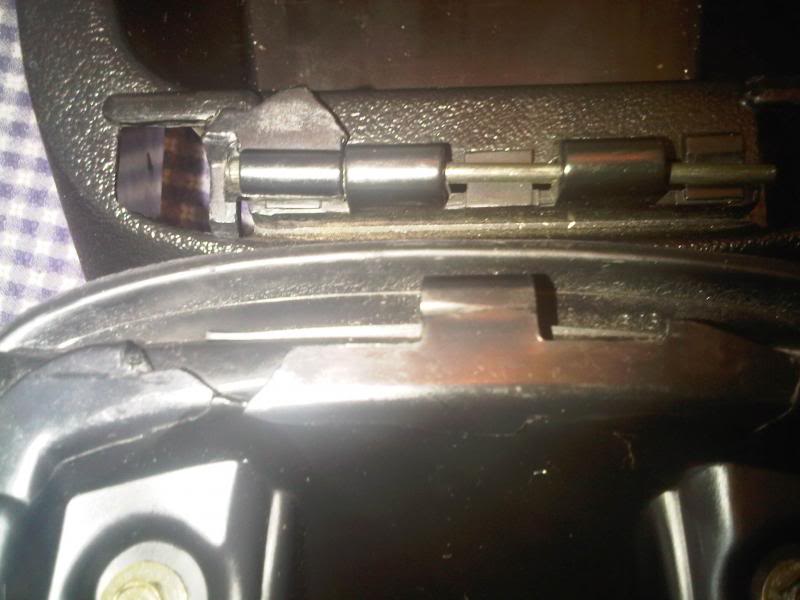
I first used superglue to repair and reinforce the cracks and re-attach the original hinge piece. As an exact fit into the break, it was a simple process. I would reinforce all these pieces later, as you will see.
So with the basic assembly in place, I just needed to mix small portions of plastic epoxy and build up a new piece on the opposite end. I wondered about the strength and adhesion properties of the mix, but was more than impressed with the result.
TIP- MIX SMALL PORTIONS- the mix only has a few minutes before curing, so work small and fast until it is built up to a little oversize.
TIP - THIS STUFF GETS HOT. - Fast chemical reactions cause a lot of heat.
So, I make enough of a lump to start trimming and shaping to what I want.
I used a dremmel with the cutting blade, but broke a few, so ended up using the 1/4 " metal tool (A small porting tool) Cylindrical with spiral blades.
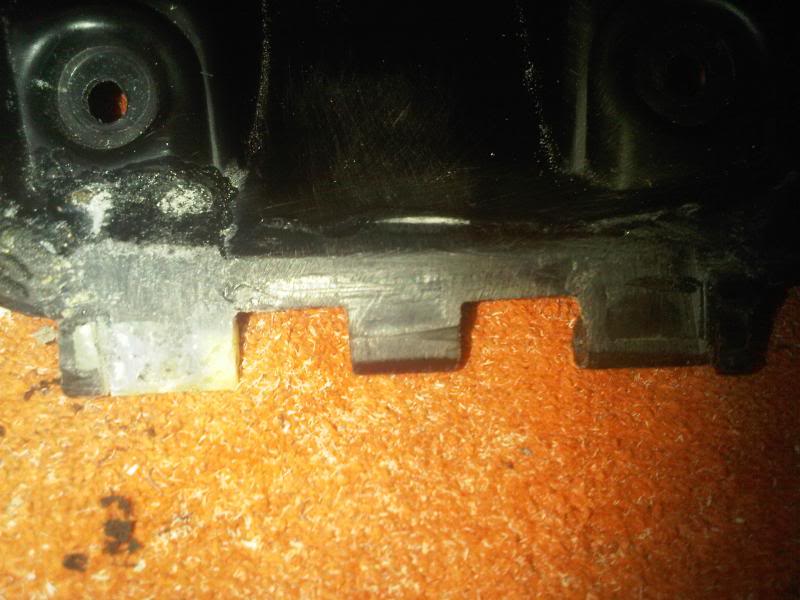
Not a good pic but you can see the rough shape and the hole I bored
See part 2 - I was limited to 10 pics per post
I found the console portion was unbroken, and the lid had broken the plastic tabs off. One broken section was still attached by the axle rod to the console. The other was missing, long gone.

I removed the rod and broken piece. I found the fit of the axle to the piece very tight, but with some turning and care, it cam apart. allowing me to remove both the axle and the broken piece.

You can see how the broken piece was an exact fit to the damaged lid.


Remove the two screws holding the lid to the plastic insert and lay the padded lid cover aside until the entire repair is complete and ready for re-assembly.
I had in mind an epoxy repair and some fiberglass, but bought some two-part plastic epoxy repair to try that first.

In the end, the plastic repair mix and superglue was all I needed to do the repair.
I examined the construction of the lid insert and could see the design relies on two "legs" on the lid insert to limit the opening of the lid itself. This is the design flaw that causes breakages of the hinge section

The weight of the lid assembly is just too much for the plastic integrity of the hinge.
At first I decided to remake the assembly exactly as OEM, but after some thinking I decided to remove the "legs" and incorporate some simple straps to limit the opening span of the lid. they ended up being the last thing to install, the final stage of re-assembly.

I first used superglue to repair and reinforce the cracks and re-attach the original hinge piece. As an exact fit into the break, it was a simple process. I would reinforce all these pieces later, as you will see.
So with the basic assembly in place, I just needed to mix small portions of plastic epoxy and build up a new piece on the opposite end. I wondered about the strength and adhesion properties of the mix, but was more than impressed with the result.
TIP- MIX SMALL PORTIONS- the mix only has a few minutes before curing, so work small and fast until it is built up to a little oversize.
TIP - THIS STUFF GETS HOT. - Fast chemical reactions cause a lot of heat.
So, I make enough of a lump to start trimming and shaping to what I want.
I used a dremmel with the cutting blade, but broke a few, so ended up using the 1/4 " metal tool (A small porting tool) Cylindrical with spiral blades.

Not a good pic but you can see the rough shape and the hole I bored


See part 2 - I was limited to 10 pics per post


Thread
Thread Starter
Forum
Replies
Last Post

