2nd project started (even faster)


 02-21-2014, 06:42 PM
#33
Registered User
Thread Starter
Join Date: Mar 2011
Posts: 98
Re: 2nd project started (even faster)


So i decided to go with a 408 stroker kit on this build, I'm looking at options for heads and intake? Mike over at ttp says afr heads are not the way to go and suggested at looking at trick flow heads. Any opinions out there? Also what intake should i be looking into anyone running a fast 102? Or should i be looking at a stock intake. And lastly cam options? I like the torque that my lt1 has so i want something that will throw me back in the seat but i also want a ***** load power (700's rwhp) and still be able to get into the car and drive it to the food store. Keeping this also in mind the motor will be running boost.
02-21-2014, 06:43 PM
#34
Registered User
Thread Starter
Join Date: Mar 2011
Posts: 98
Re: 2nd project started (even faster)

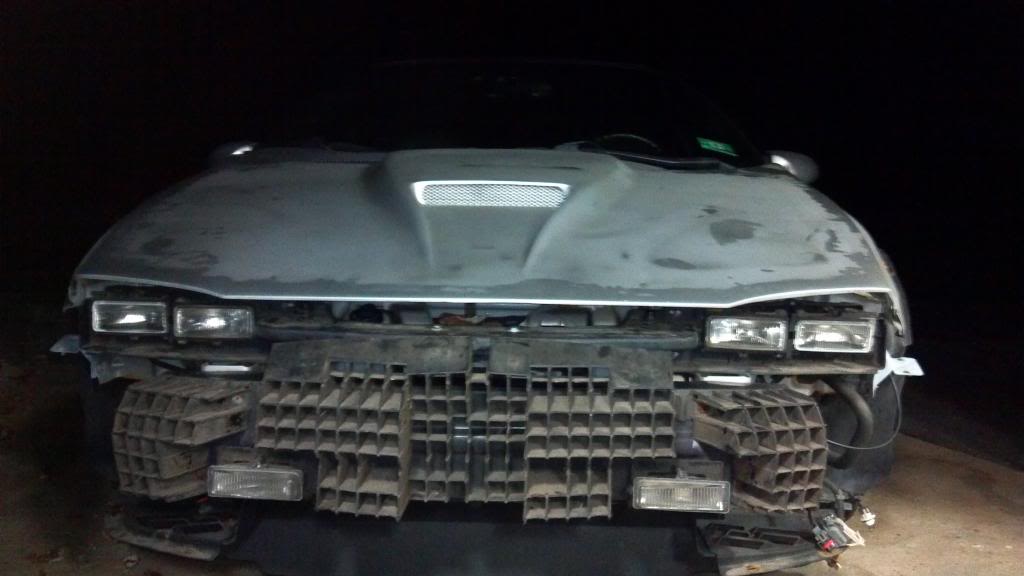
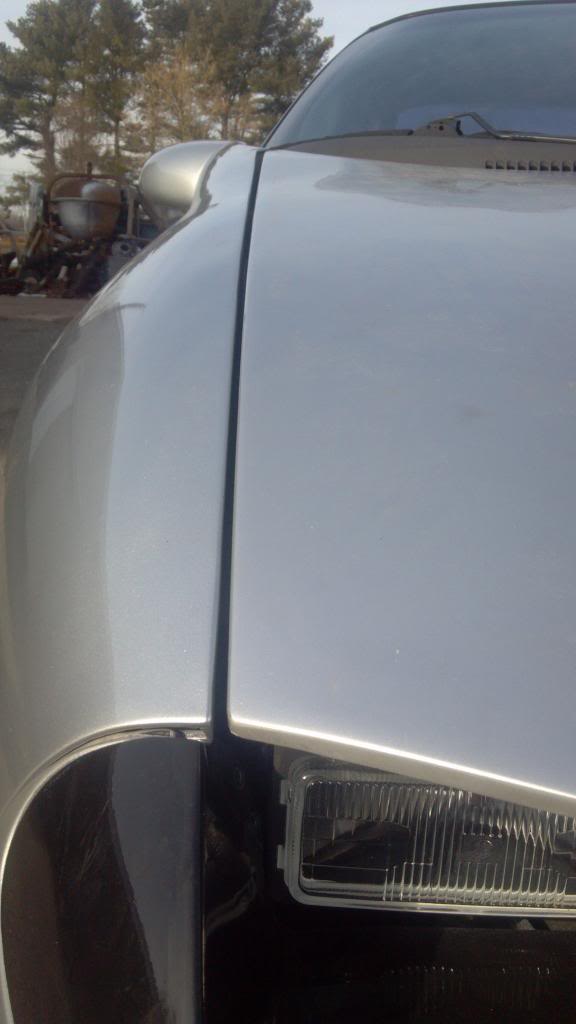
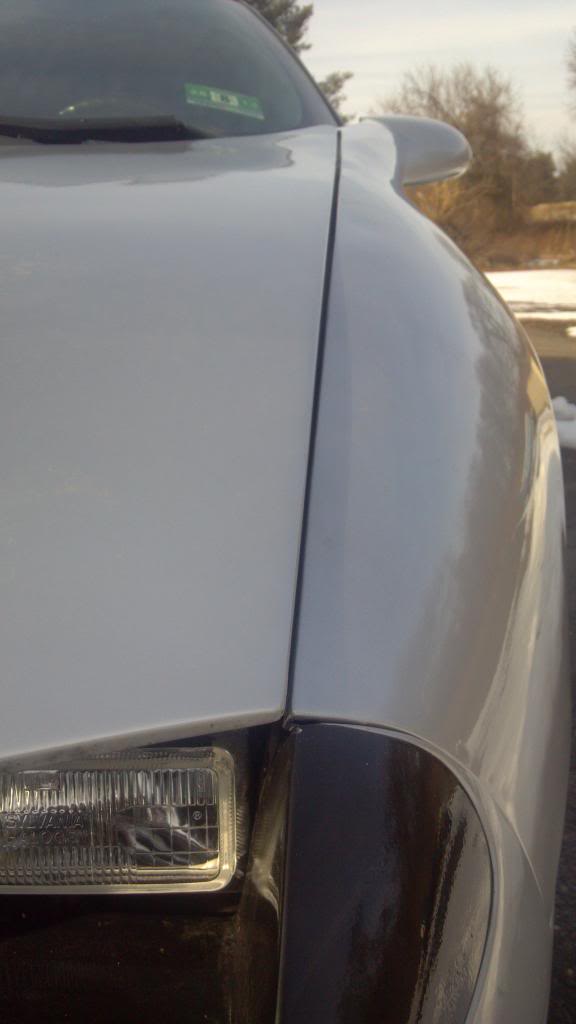
got the fenders and headlights off the car. I'll be finishing it this weekend
I figured I would post some updates on my progress with the car. I have to block sand the sheet metal interior fender to get rid of some rust, then I'll spray with some silver primer. the front wheels are done and the fenders are now silver and no longer black. all I really have to do now is wire brush the mounting brackets for the fenders and some of the other various mounting brackets that hold this front end together, paint, and reassemble.
driver side

passenger side

fenders before


fenders now


front wheels all done also
 02-21-2014, 06:44 PM
#35
Registered User
Thread Starter
Join Date: Mar 2011
Posts: 98
Re: 2nd project started (even faster)
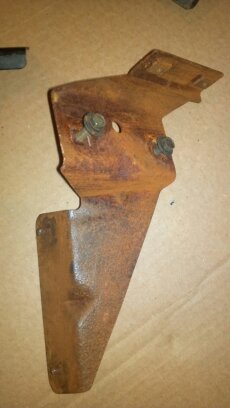
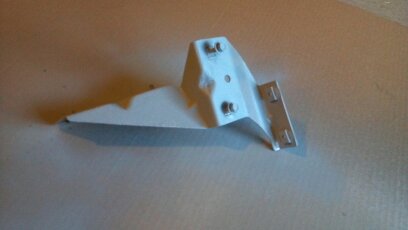
I was able to clean up and spray a few parts yesterday to help prevent from future rusting but I have a have few questions on where some of the of this mounting brackets go
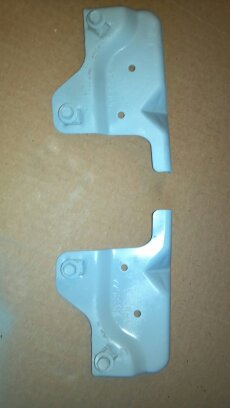
here are the fender mounting brackets does anyone have any photos of where they are bolted on to the frame of the car
before
after
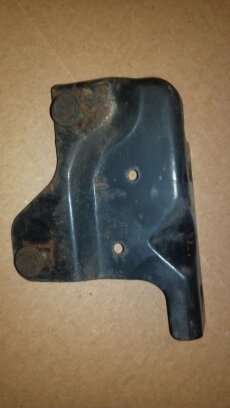
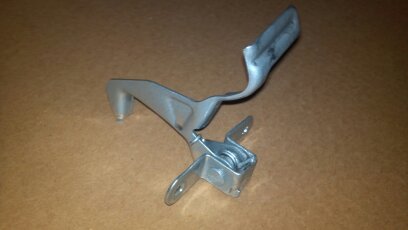
the next two are these, there are obvious a right and left one but where do they mount at
before
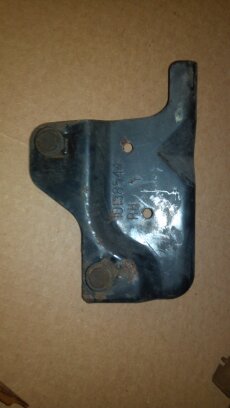
after
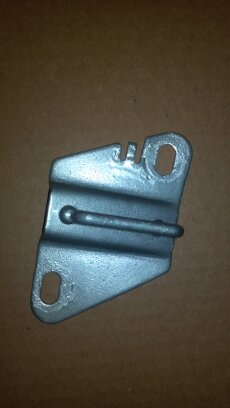
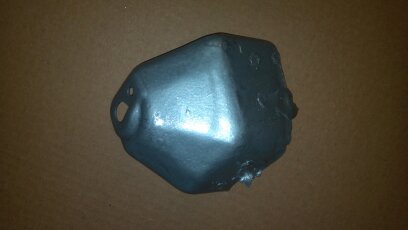
here are a few other various parts i cleaned up
Other then finding the location of those four brackets I'm ready to officially swap the front end out
here are the fender mounting brackets does anyone have any photos of where they are bolted on to the frame of the car
before

after

the next two are these, there are obvious a right and left one but where do they mount at
before


after

here are a few other various parts i cleaned up


Other then finding the location of those four brackets I'm ready to officially swap the front end out
02-21-2014, 06:46 PM
#36
Registered User
Thread Starter
Join Date: Mar 2011
Posts: 98
Re: 2nd project started (even faster)
sat down with Mike and Matt at TTP yesterday after dropping of the 6.0 block. So the build will look something alittle like this 408 stoker kit, trickflow heads (specifics not determined) D-1 supercharger, 10:1 compression, cam specs, also not determined, Both Matt and Mike informed me "this car will make a easy 750 rwhp w/o sweating"
here are some photos of the ls1 after disconnecting the air box, its not pretty and its on the primitive side but it gets the job done for now and allows me to swap out the front end.
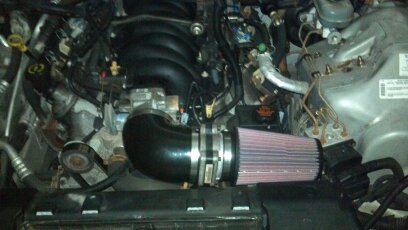
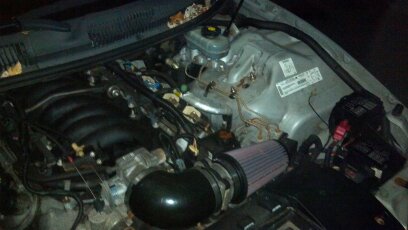
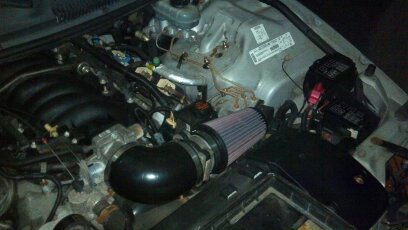
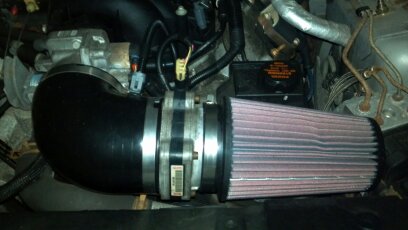
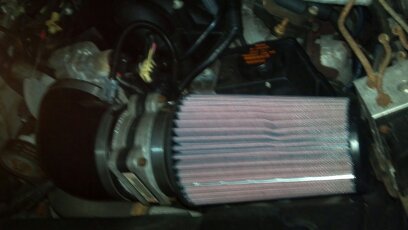
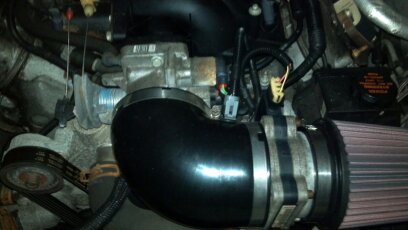
here are some photos of the ls1 after disconnecting the air box, its not pretty and its on the primitive side but it gets the job done for now and allows me to swap out the front end.


 02-21-2014, 06:47 PM
#37
Registered User
Thread Starter
Join Date: Mar 2011
Posts: 98
Re: 2nd project started (even faster)


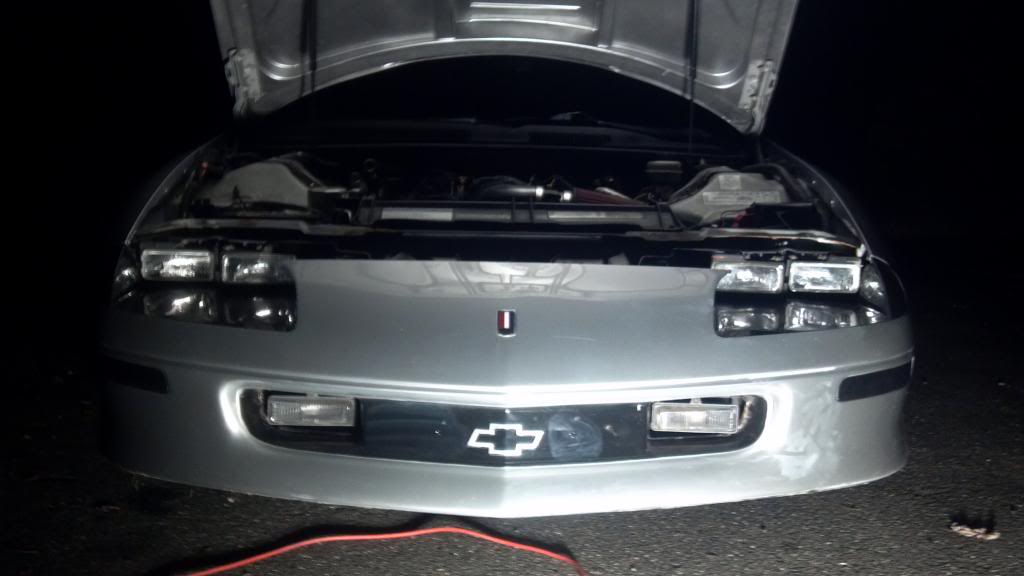
I got the Ls bumper cover and bumper absorber off, all the brackets, lights, and everything else that goes along with Ls nose. I was able to mount the Lt bumper absorber. All I have left is to do is sand and paint, bolt on the Lt headlight assembly, connect all lights and start putting on the Lt nose.
02-21-2014, 06:48 PM
#38
Registered User
Thread Starter
Join Date: Mar 2011
Posts: 98
Re: 2nd project started (even faster)

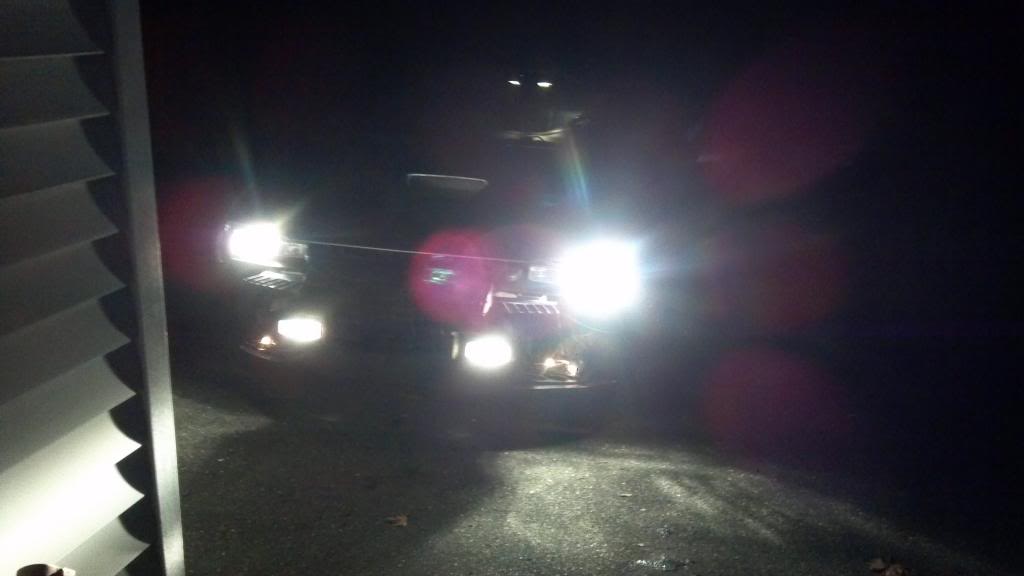
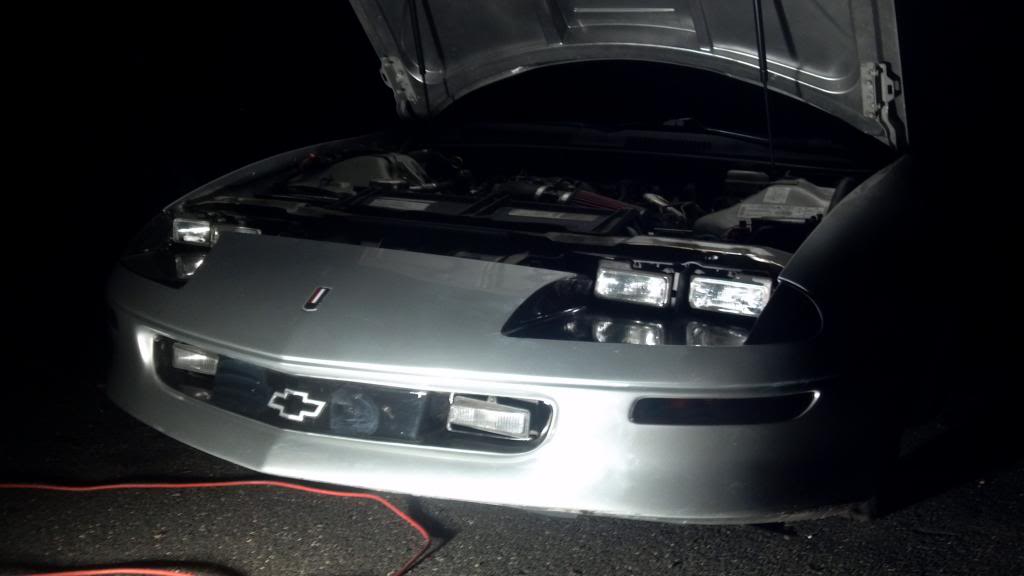
finally got the headlight assembly on and all the the lights connected and working. now all that is left is to sand, spray after i tape off a few things. then i can finally get the body panels back on. this swap has been extremely easy, time consuming but easy.

 02-21-2014, 06:52 PM
#40
Registered User
Thread Starter
Join Date: Mar 2011
Posts: 98
Re: 2nd project started (even faster)
hood is on, its looking like a Lt1 more and more


after a couple of hours for some needed rewiring and replacing every bulb all the lights are officially working. I did notice that in the Lt1 if the high beams where turned on the fog lights would turn off leaving the high and low beams on. As for the Ls wiring if the high beams are switched to the on position, the low beams turn off....i guess it will make for even crapper vision while driving at night. HID kit will defiantly be in store for this car.
was able to get both fenders on, took this photo before i lined everything up


after a couple of hours for some needed rewiring and replacing every bulb all the lights are officially working. I did notice that in the Lt1 if the high beams where turned on the fog lights would turn off leaving the high and low beams on. As for the Ls wiring if the high beams are switched to the on position, the low beams turn off....i guess it will make for even crapper vision while driving at night. HID kit will defiantly be in store for this car.

was able to get both fenders on, took this photo before i lined everything up
02-21-2014, 06:53 PM
#41
Registered User
Thread Starter
Join Date: Mar 2011
Posts: 98
Re: 2nd project started (even faster)
some of progress I've made and some of the issues I've had to correct.
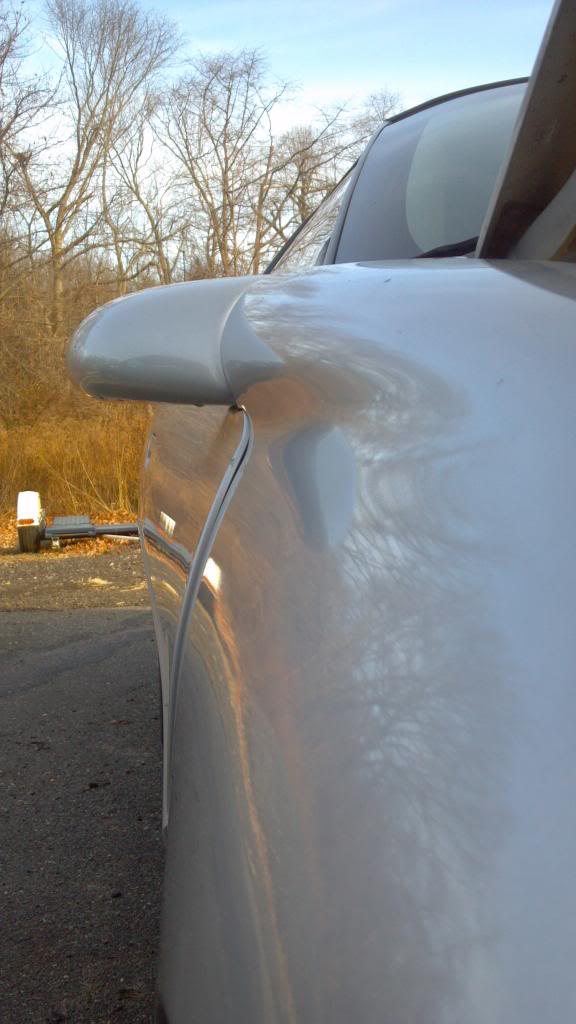

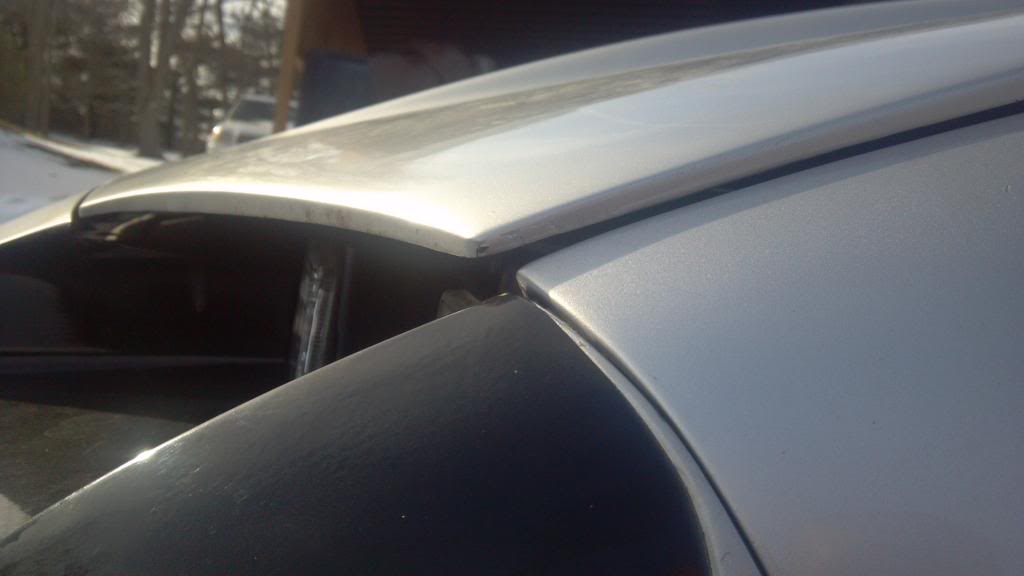
I have fixed all the fender alignment issues but one, that being the hood and making sure the lines for the hood are straight. I have to reroute the wiring harness that runs on top of the passenger side strut tower, and the air hose that runs on top of the drivers side strut tower and the hood will be latch completely down.


I have fixed all the fender alignment issues but one, that being the hood and making sure the lines for the hood are straight. I have to reroute the wiring harness that runs on top of the passenger side strut tower, and the air hose that runs on top of the drivers side strut tower and the hood will be latch completely down.
02-21-2014, 07:03 PM
#42
Registered User
Thread Starter
Join Date: Mar 2011
Posts: 98
Re: 2nd project started (even faster)
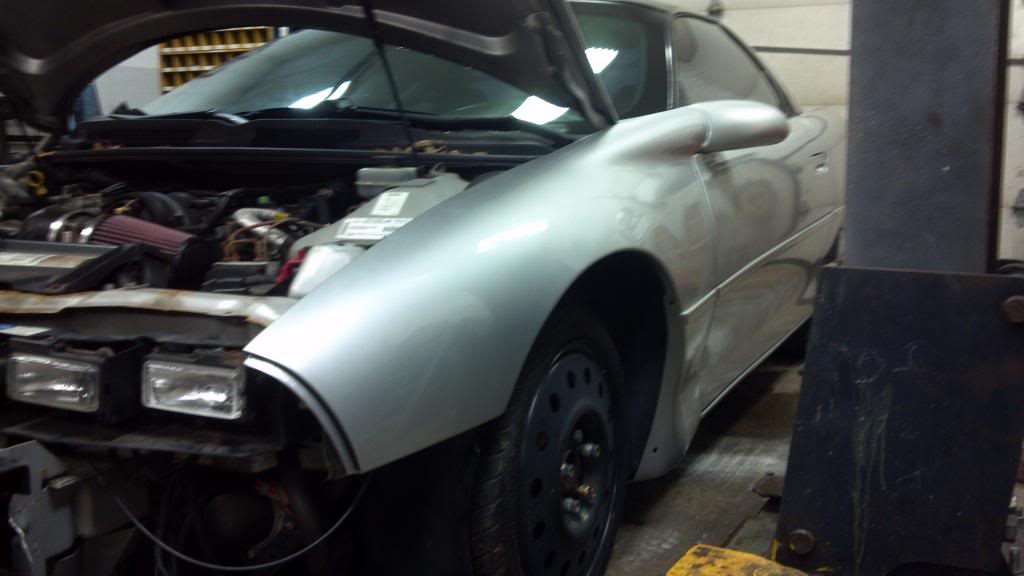
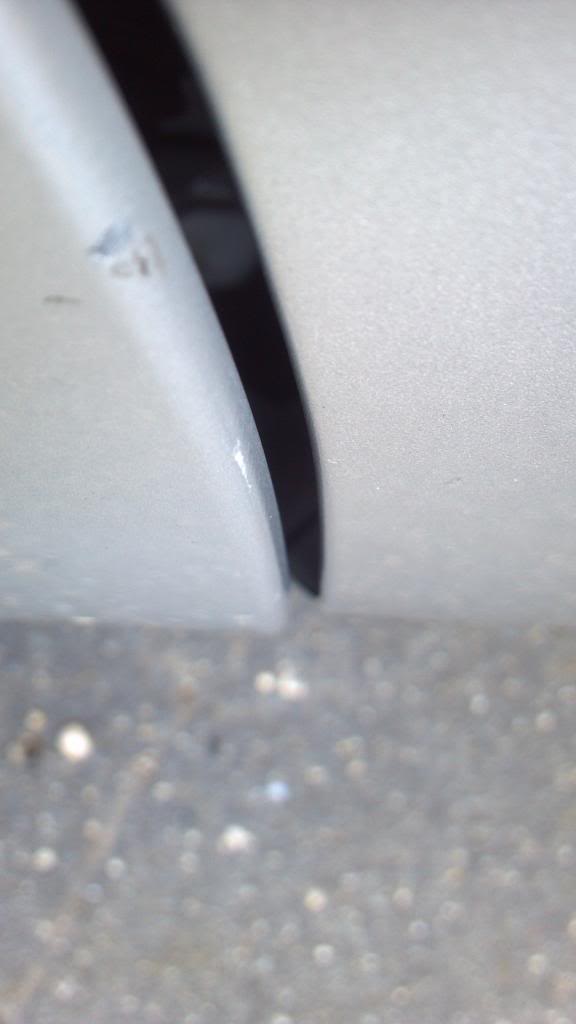
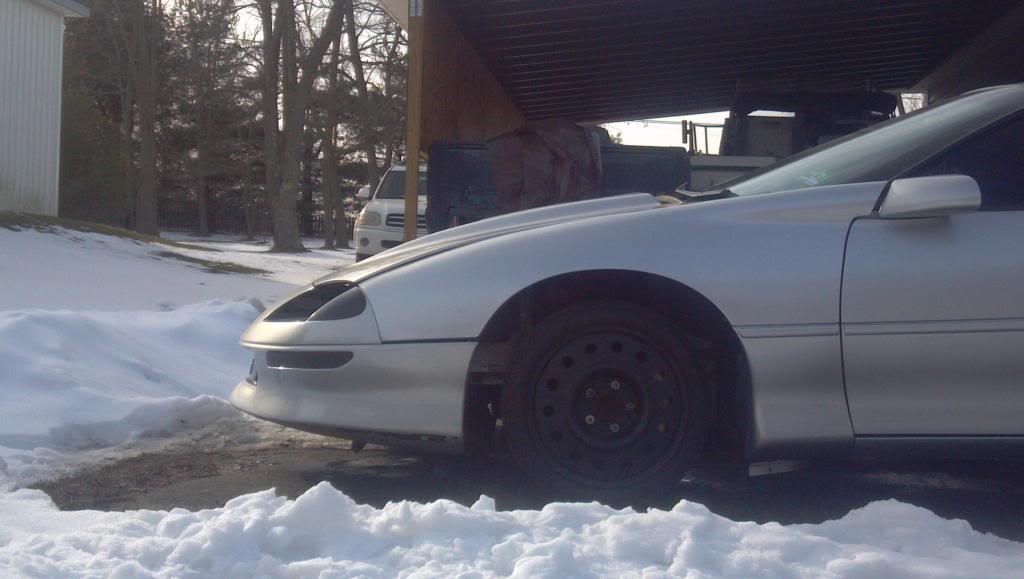
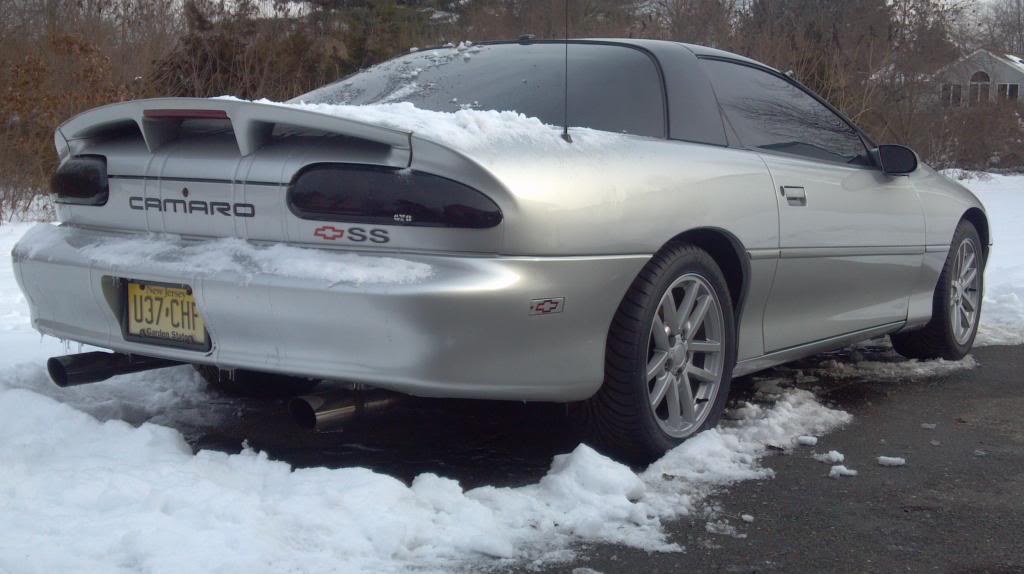
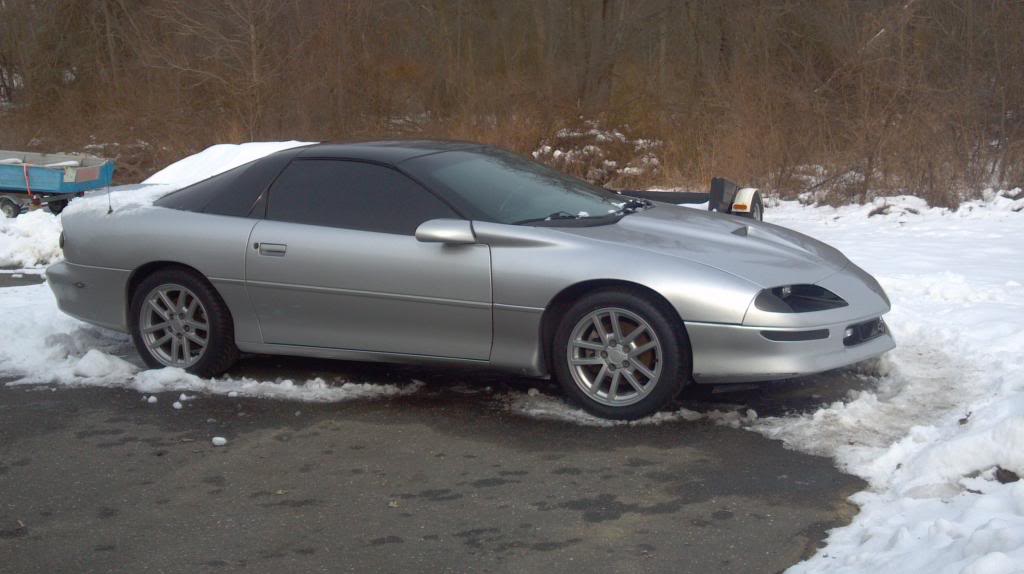
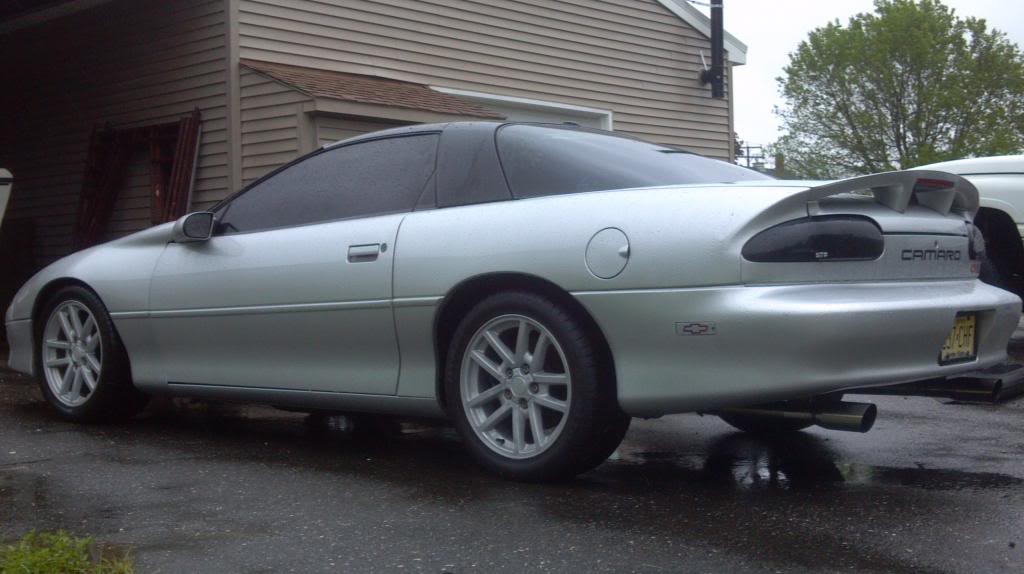
I got the car back together, this hood is on its way out. I just bought a true genuine SLP SS hood of a wrecked 97' SS. The fenders need to be resprayed and I have to get the newly powder coated front wheels back on. The fenders still have room to get moved up, and I still have room to lower the hood latch, which will help with correcting these lines but again this hood is on its way out


 02-21-2014, 07:11 PM
#43
Registered User
Thread Starter
Join Date: Mar 2011
Posts: 98
Re: 2nd project started (even faster)
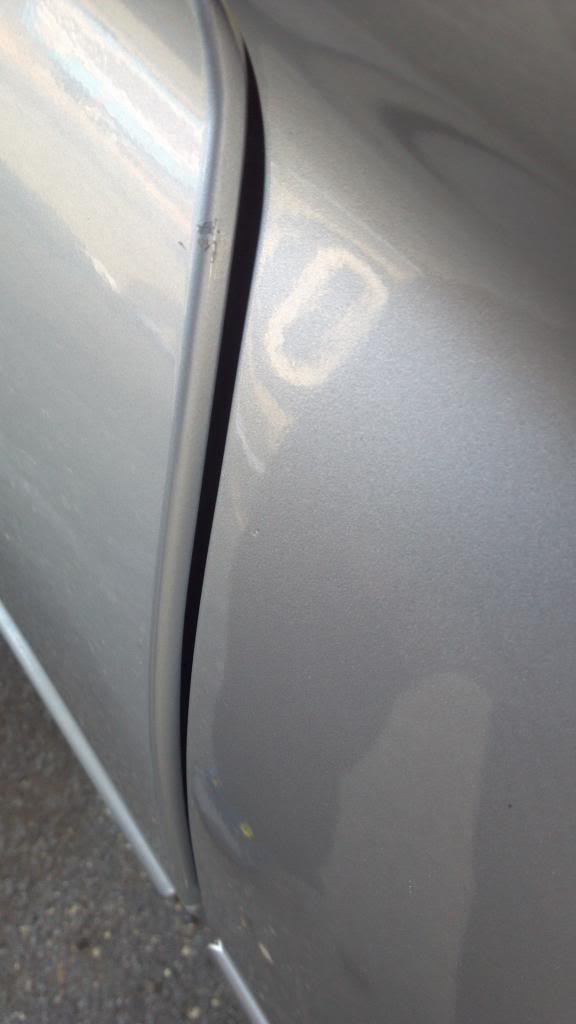
All I have left to do is tighten up the bolts from the fenders to the front bumper cover and bolt in the fenders to the under brackets under the doors....just waiting on some lift time. Here the car as of today.
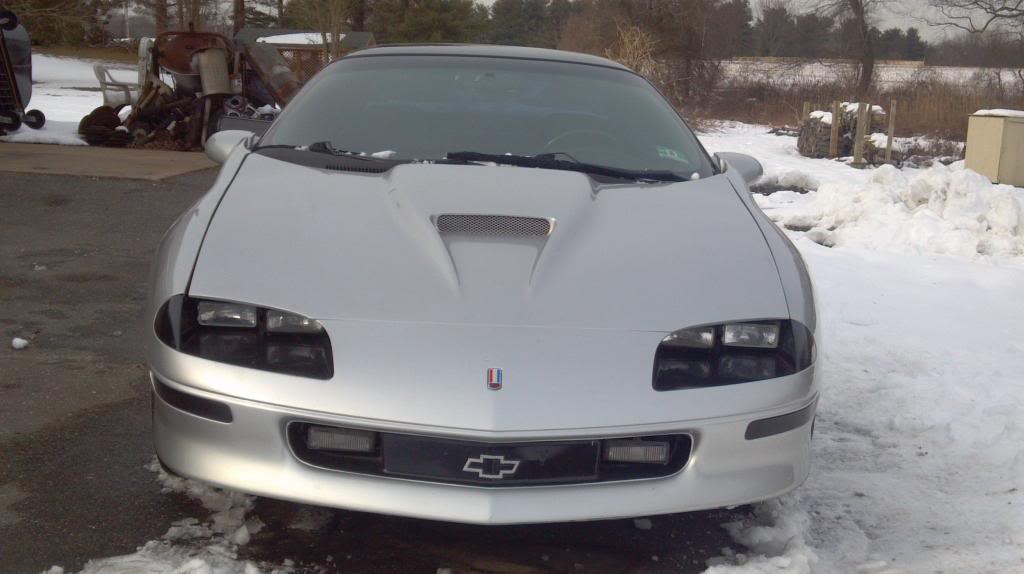

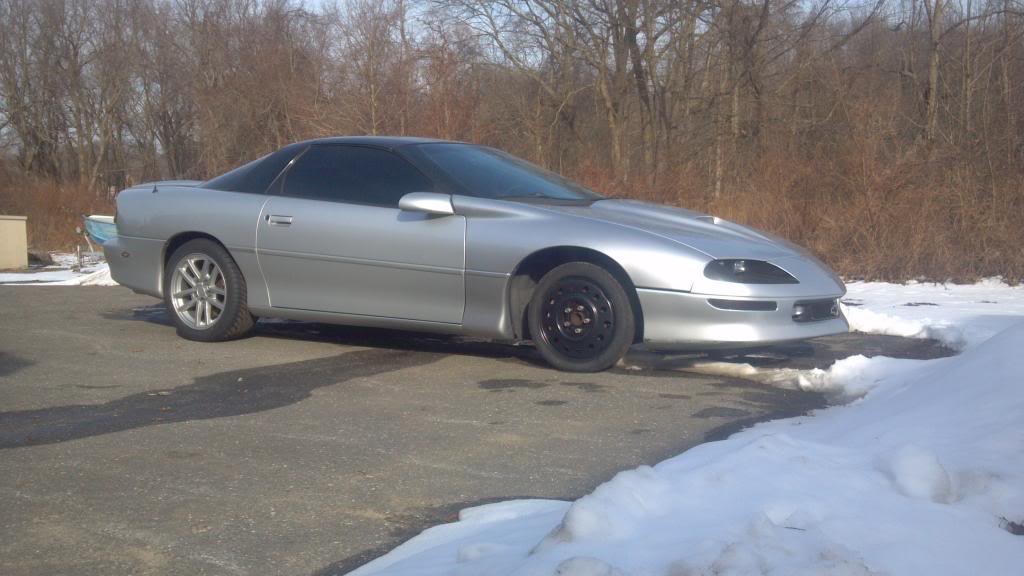
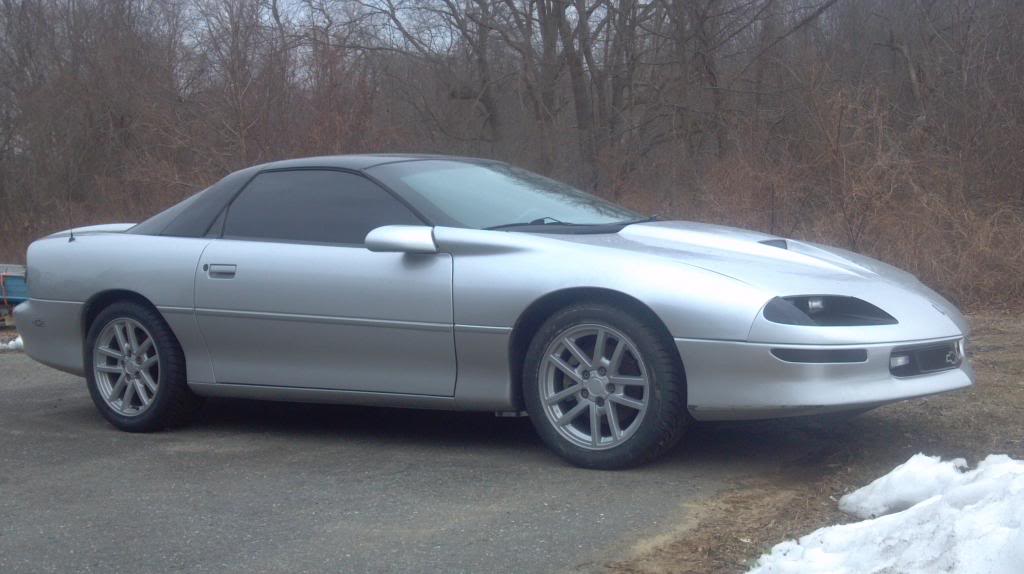
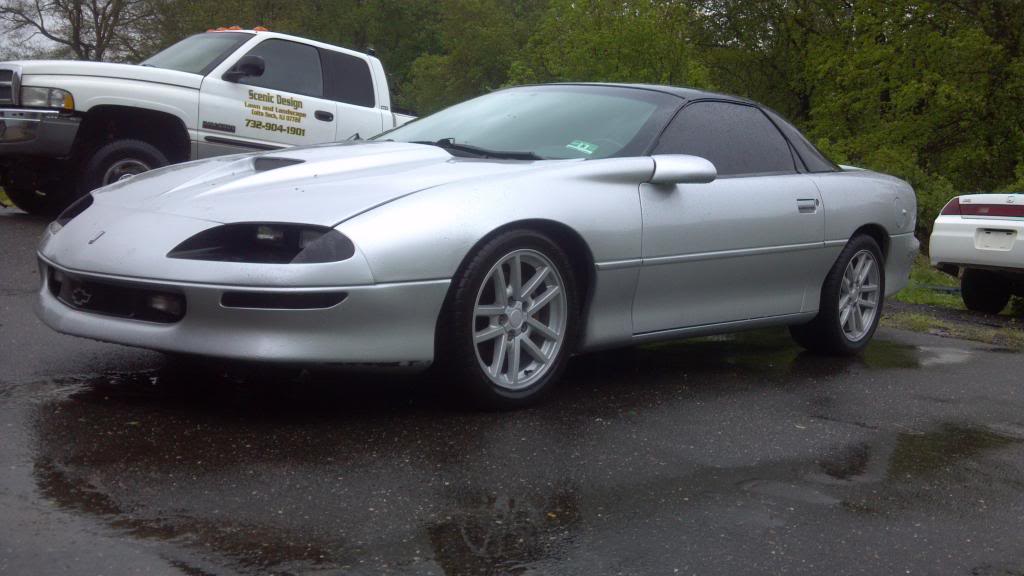
So guys I've been extremely busy with this 02' SS mine for the past few months and I'm just now getting to post all my progress on the car here now. As everyone can see I converted the car over to a Lt1 front end…its just a more aggressive look. I have 6.0 iron block at the local engine shop. yes I'm running boost on that motor and lots of it : ). the 97' SLP SS hood is now on its way from arkansas. after all engine work is done, new t56 is in, new ford 9' (3:73) gets bolted in and all suspension work is done this car will be going to the body shop for a overhaul. a lot more work needed


So guys I've been extremely busy with this 02' SS mine for the past few months and I'm just now getting to post all my progress on the car here now. As everyone can see I converted the car over to a Lt1 front end…its just a more aggressive look. I have 6.0 iron block at the local engine shop. yes I'm running boost on that motor and lots of it : ). the 97' SLP SS hood is now on its way from arkansas. after all engine work is done, new t56 is in, new ford 9' (3:73) gets bolted in and all suspension work is done this car will be going to the body shop for a overhaul. a lot more work needed
Last edited by bigz28man; 02-21-2014 at 07:25 PM.
05-21-2014, 10:52 PM
#44
Registered User
Thread Starter
Join Date: Mar 2011
Posts: 98
Re: 2nd project started (even faster)
Stock slp ls1 ride height
Ls1 height after lowering with BMR springs
Here are the photos with both BMR lowering springs , BMR lowering a-arms, heater hose mod
[URL=http://s1268.photobucket.com/user/bigz28man/media/2002%20SS%20camaro/2014-05-16_16-40-51_444_zps6234e013.jpg.html]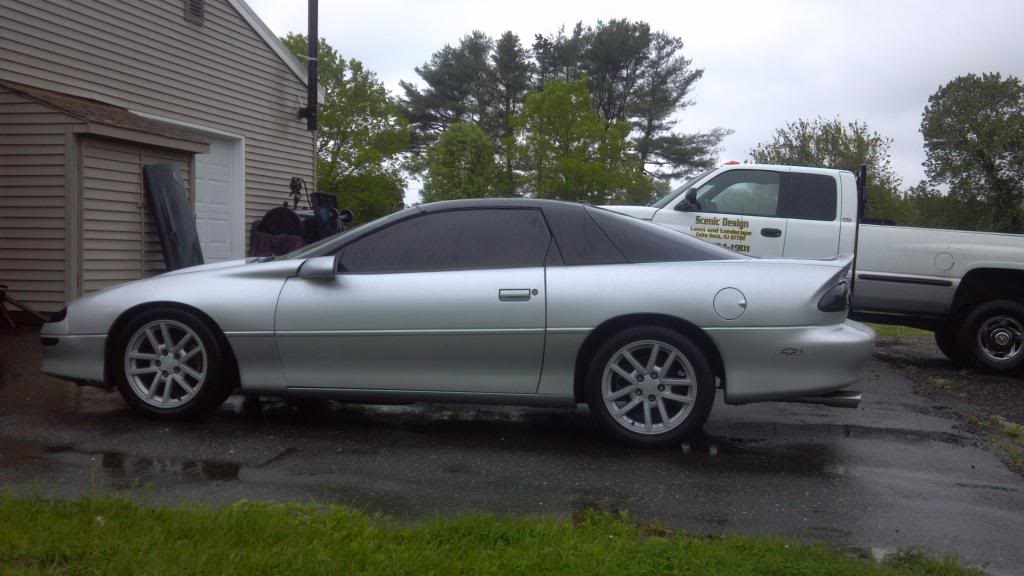
Ls1 height after lowering with BMR springs

Here are the photos with both BMR lowering springs , BMR lowering a-arms, heater hose mod


[URL=http://s1268.photobucket.com/user/bigz28man/media/2002%20SS%20camaro/2014-05-16_16-40-51_444_zps6234e013.jpg.html]
